1. Introduction
A version control system allows you to manage different versions of a given file, providing you with a smarter, more effective way to organize your project. With it, you will be able to follow your development history, customize a version, perform tests (layout or otherwise), and retrieve the system from a previous stable stage, among others, without having to edit your current main version.
This article presents an alternative way to control Elipse E3’s project files (.PRJ) versions with Azure DevOps.
2. Azure DevOps
Azure DevOps is a Microsoft tool for project management and version control. Totally integrated to Visual Studio, Git, and Team Foundation Version Control, it’s free of cost for small teams; in this example, we will use Team Foundation Version Control.
3. Team Foundation Version Control (TFVC)
This resource is responsible for version control, and is one of the main innovative features of Visual Studio Team System. To understand how TFVC works, you must first learn its main commands:
Check In: Sends files to repository in VSO. This command takes place every time a new change or new resource is implemented.
Check Out: Downloads the last Check In from the server and, consequently, allows you to edit and later send the file (Check In).
4. Operation and Settings
For version control purposes, follow these procedures.
4.1. Creating the Repository and the Project in VSO
To be able to use Azure DevOps, access this tool with a Microsoft account (Hotmail, Outlook, Live etc.) and set up the account’s URL and where it will be hosted (Figure 1).
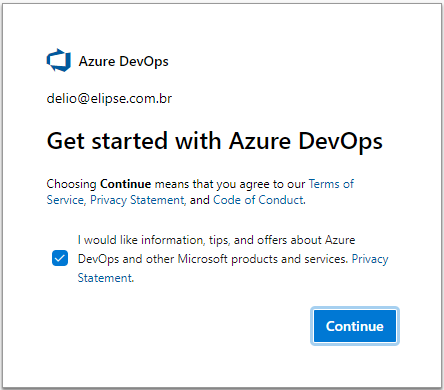
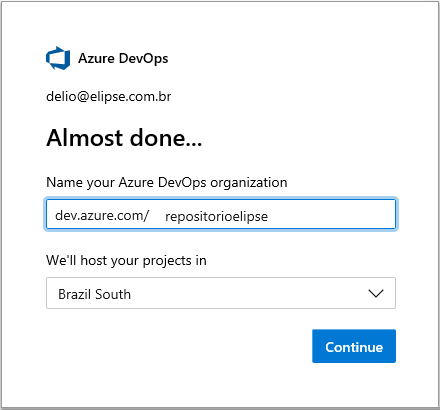
Figure 1: VSO
The repository works as a “box” where projects are kept. It is accessed from a URL, and a single account can have multiple repositories. After you name it, it will be displayed in the following format: https://repositoryname.visualstudio.com/. The ElipseSoftware project was also created alongside the repository by selecting the version control system type as Team Foundation Version Control.
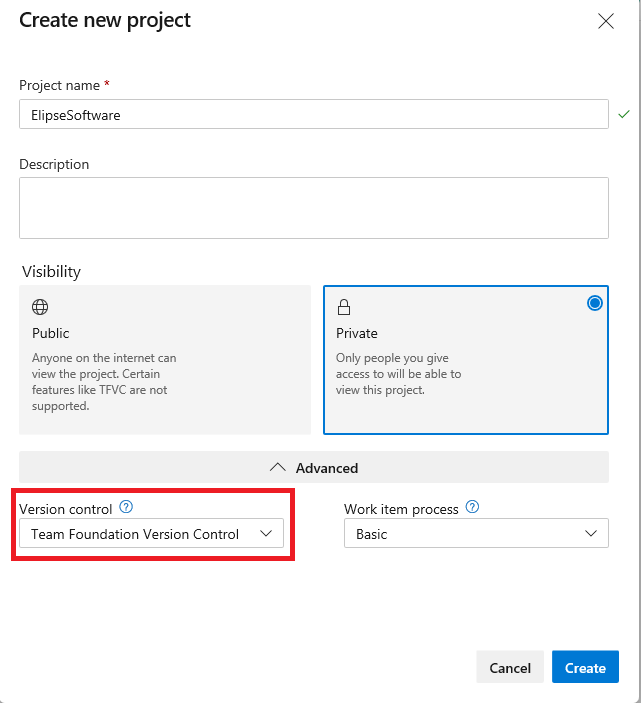
Figure 2: ElipseSoftware Project
From https://dev.azure.com/repositoryelipse/ElipseSoftware, you will be able to access the repository’s management panel screen.
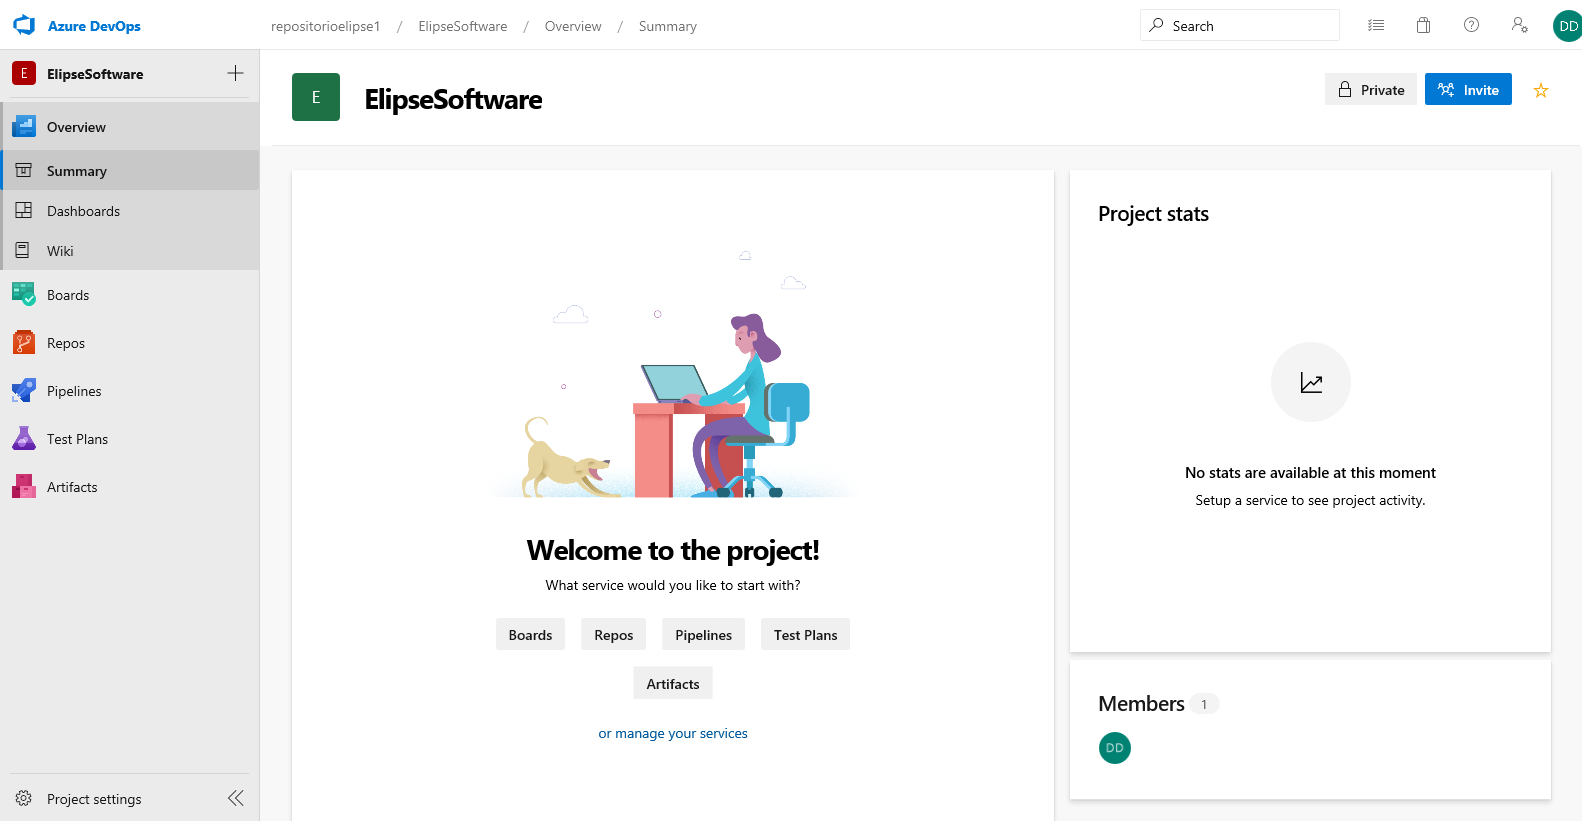
Figure 3: Repository’s Management Panel
4.2. Using Version Control
This project’s version control type has been set up as TFVC; therefore, we need to install a client that connects to the repository. To locate the Team Explorer (Visual Studio’s VSO-oriented area), go to VIEW >> Team Explorer. This program can be installed even if you don’t have Visual Studio in your computer. In this example, we used Team Explorer version 2013, available at Microsoft and also attached to this article.
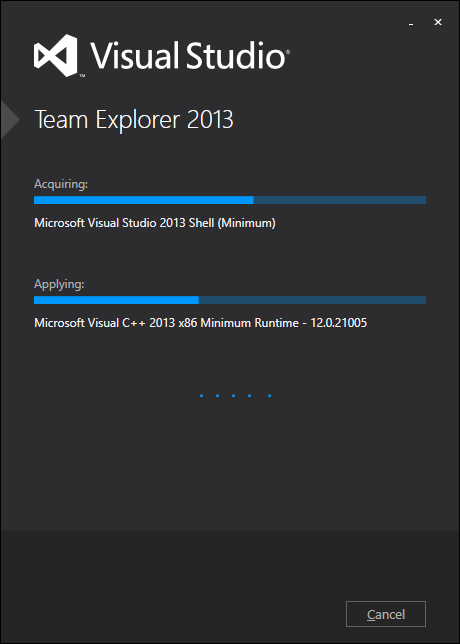
Figure 4: Installing Team Explorer
5. Setting up Version Control for Elipse E3’s project files
To set up a version control for your projects, follow these procedures.
5.1. After executing Team Explorer (or Source Control Explorer), you must first select the Connect to Team Projects option.
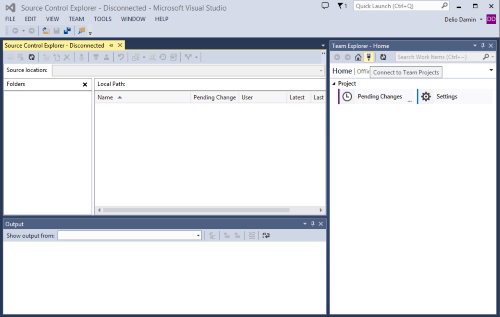
Figure 5: Connect to Team Projects
5.2. Next, add the repository’s URL and select the desired project.
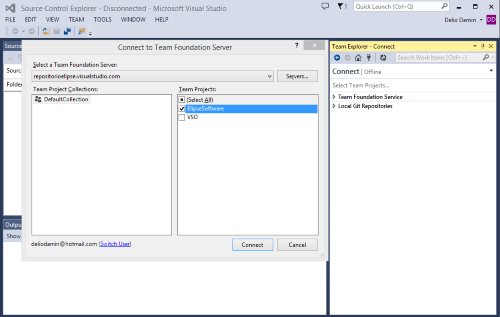
Figure 6: Select Project
5.3. After setting up the repository’s project, set up the Workspace, the address in the local computer where E3 project files are. In this case, the path is C:\Workspace_E3.
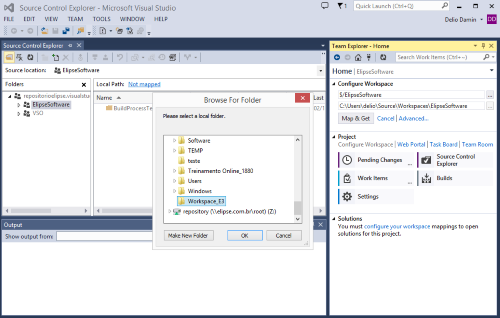
Figure 7: Workspace
5.4. To finish selecting the workspace, click Map & Get.
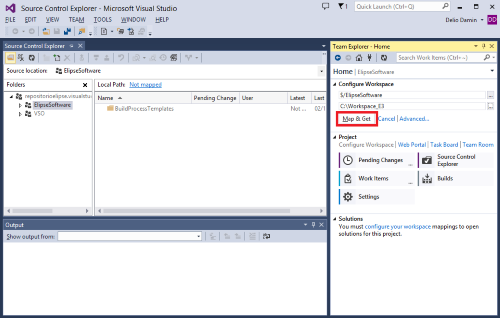
Figure 8: Map & Get
5.5. To select the files to be controlled, go to Excluded Changes and select Detected. A new window pops up displaying the files in the Workspace. Select a .PRJ file and click Promote.
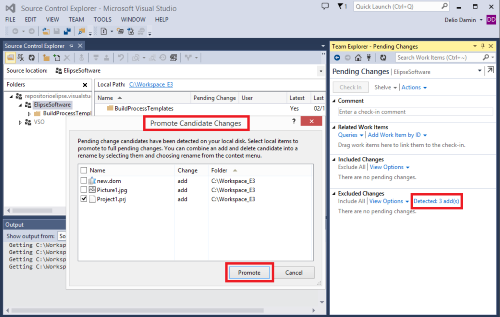
Figure 9: Select files
5.6. From there on, you will be able to check the file in, that is, to send its first version to the repository. NOTE: comments inserted before the update are very important, because they help identify the different versions being generated.
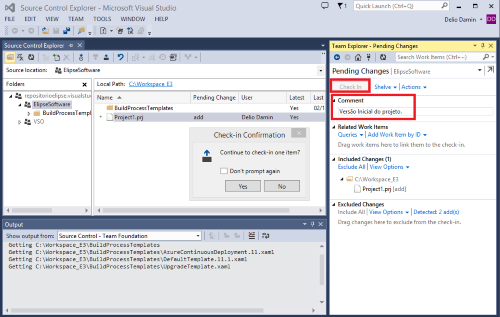
Figure 10: Check In
5.7. The project’s initial version at the E3 application displays the following message on the Viewer’s initial screen:
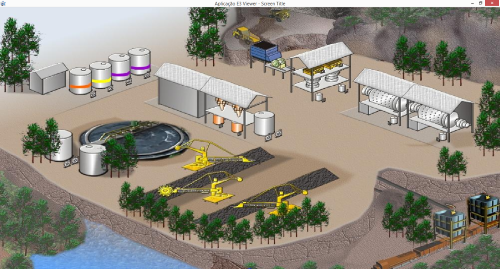
Figure 11: Initial Version
5.8. To edit the project, you must check it out. The Source Control Explorer will show you which file is being edited and by which user. In this example, we’ve removed the initial screen’s background image.
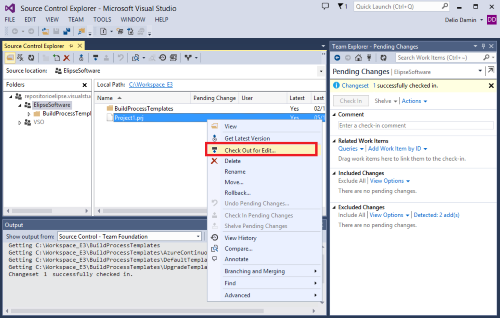
Figure 12: Check Out
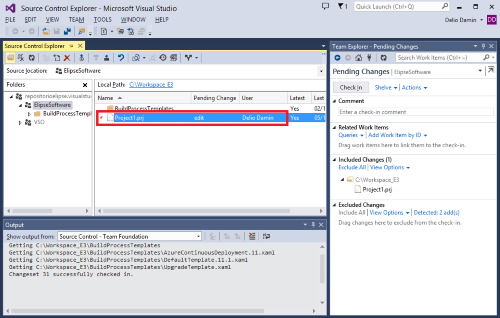
Figure 13: File being edited
5.9. After that, check the file in the repository again; don’t forget to add your comments.
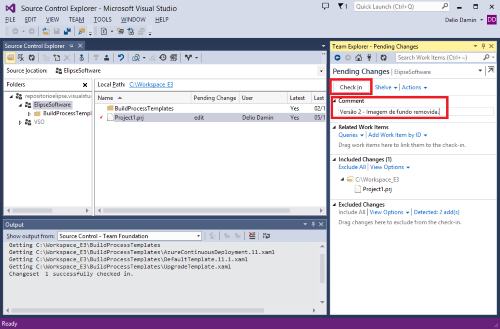
Figure 14: New Check In
5.10. The project’s new version will display the following image as the Viewer’s initial screen:
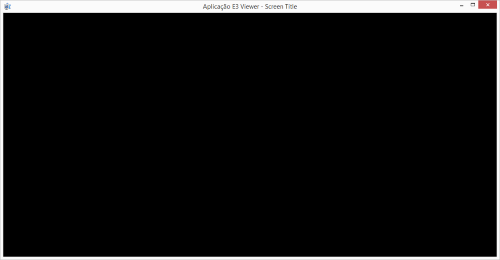
Figure 15: New version
5.11. To view all existing versions, select the project in the repository at Folder, and then click History.
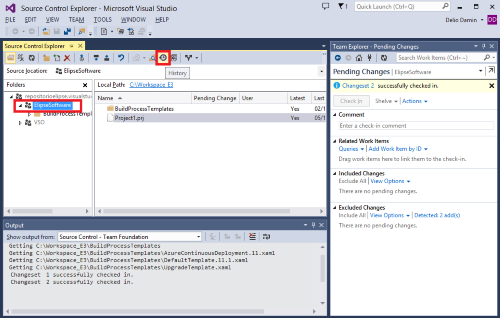
Figure 16: History
5.12. Notice that we now have two registered versions. To restore the Initial version, right-click and select Get This Version. In this case, the E3 Studio must be closed and the Domain must have stopped.
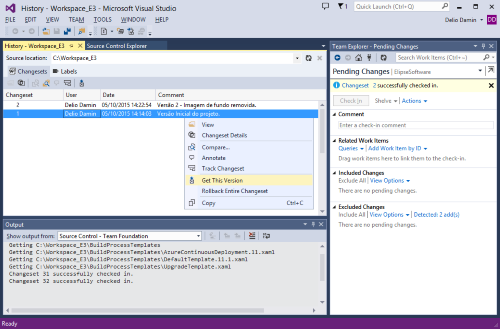
Figure 17: Registered versions
5.13. Initial version retrieved:
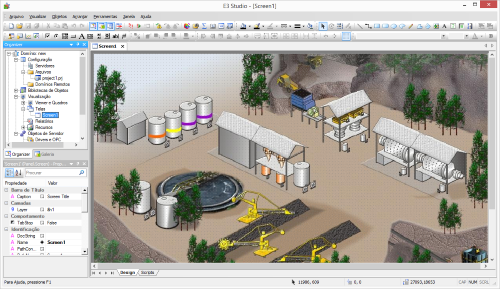
Figure 18: Initial version retrieved
5.14. A message is displayed informing you that the Server’s current version is not the same as the local version; you must choose between these two before checking in.
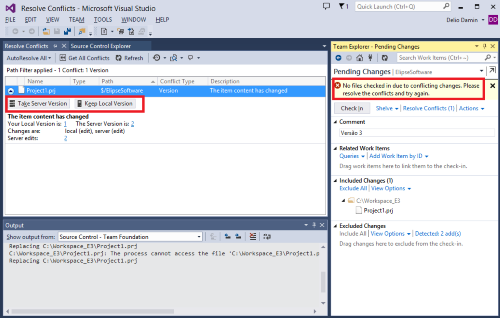
Figure 19: Conflicting versions
5.15. Different generated versions can also be checked at and/or downloaded from the web’s repository management panel.
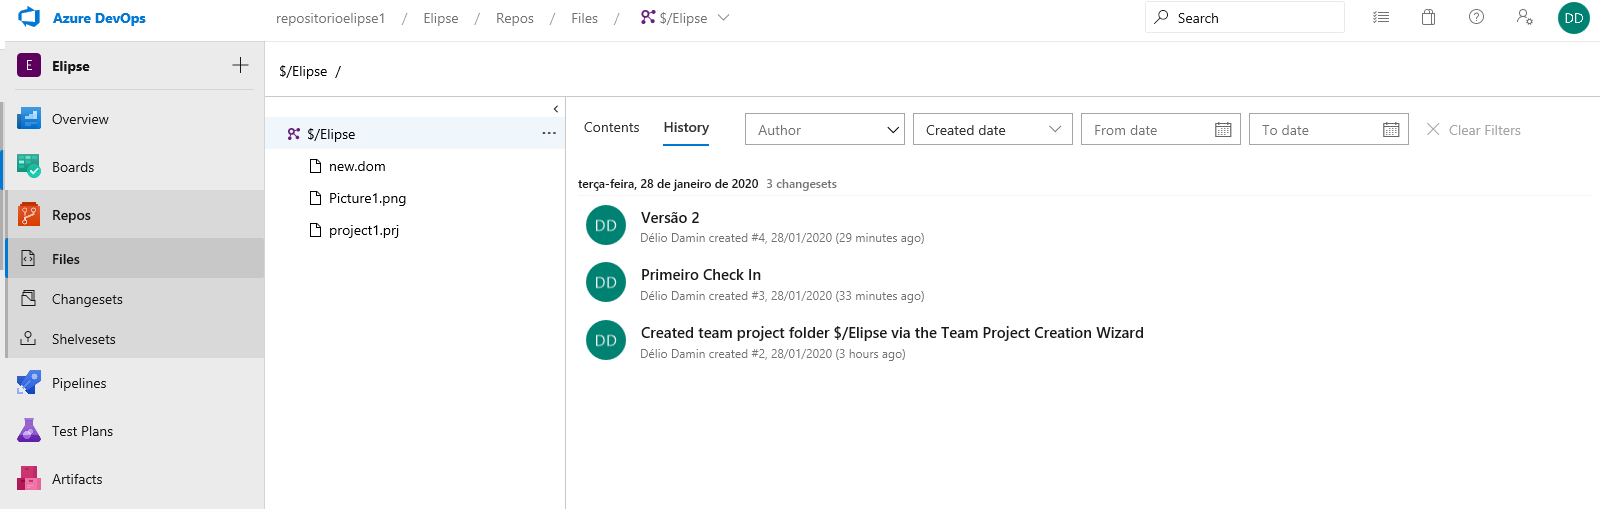
Figure 20: Versions available at the Repository
Attachments:
