This article illustrates how to set up a connection to an SQL Server database in E3, as well as recording data and applying queries for being viewed on screens.
For this example’s purposes, we will consider the SQL Server has been installed in the computer and the application’s database has already been created.
Creating a database connection:
After creating the E3 application, insert a DBServer object and set it up according to the database you want to communicate with.
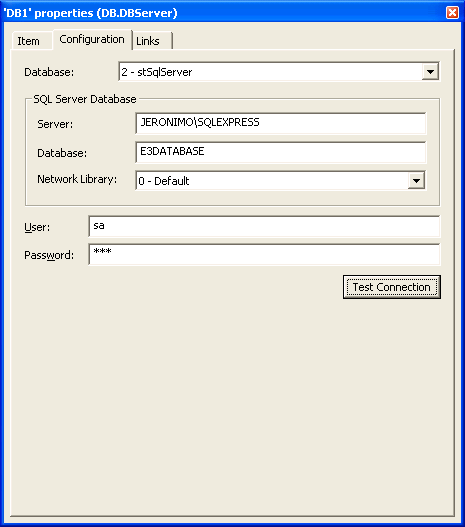
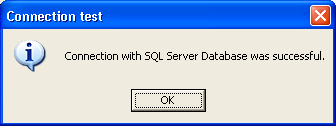
To test the connection, click Test Connection button. If communication was successful, the following message will be displayed:
Creating a historic to store values in the database:
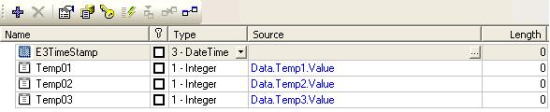
For this example, three Demo tags were designed to simulate random values of temperature, and then be recorded in the database. Insert a historic and add three fields. Set the source for each.
After that, go to the historic’s properties and set the database server name (in our case, DB1). Then, enter the table name to store data, and time to save a new record. See the example below:
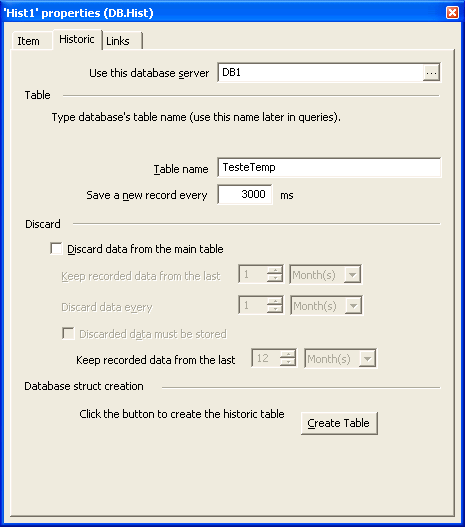
Click Create Table to create the table in the database. If implemented successfully, the following message will be displayed:

Displaying recorded data:
To show the data recorded in the database, we will use the E3Browser object, which will also have an E3Query object responsible for collecting data in the database.
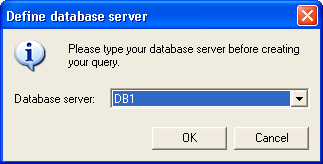
First, add an E3Browser to the screen and access its properties. On Query tab, select the query Query1 and click Configure. Select the database server which was set up as below:
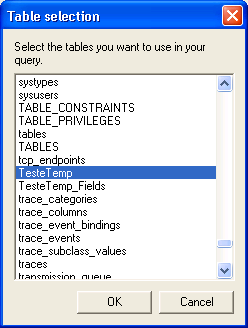
On the next window, select the table that stores temperature data. As seen above, the table name is TesteTemp.
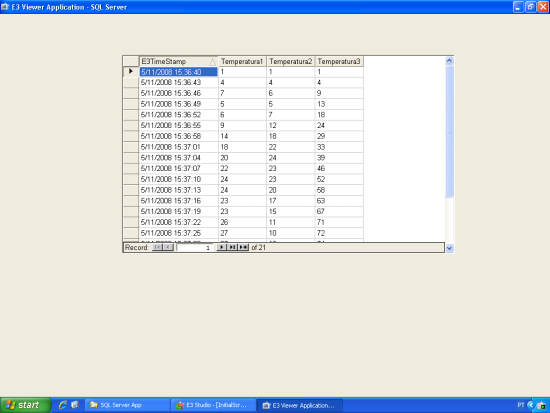
In the query settings window, select the fields of the table you want to visualize. In this case, we checked E3TimeStamp, Temp01, Temp02, and Temp03. In the Title column, the following fields were given alias: Temperature1, Temperature2, and Temperature3, respectively.

Note: You can edit these SQL commands directly. To do that, you will need to access the SQL tab and implement SQL commands. Tip: Use the SQL Server Tool (SQL Server Management Studio) to create these queries.
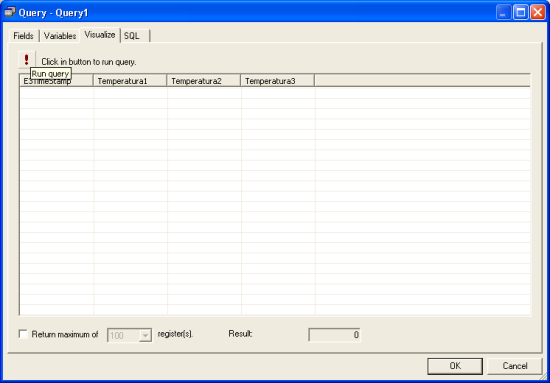
On Visualize tab, you can run the query to see if the data is being retrieved correctly. Since the application hasn’t been executed yet, this table is empty, then the columns will appear with no data on them.
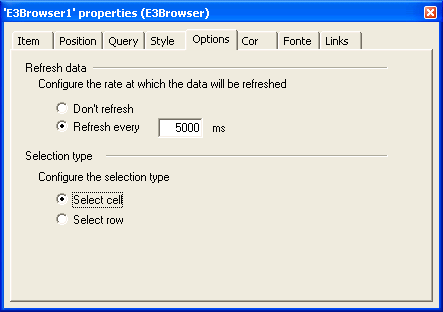
Back to E3Browser properties, go to Options tab and check Refresh every … ms, setting it to 5000 ms.
After that, save and run the application. On the screen, the stored data will be displayed with automatic refreshing every 5 seconds.
Attachments:
