This article illustrates how to set up your application to send Whatsapp messages via Elipse E3/Power.
First of all, you will need to know that WhatsApp, a free messaging and calling app, provides an API REST with JSON data formar; this API is what allows receiving and sending messages from your WhatsApp account.
The API follows the default HTTP standard, based on request and response.
API do WhatsApp
1. Firstly, you must access the WhatsApp API connecting the phone to the service:
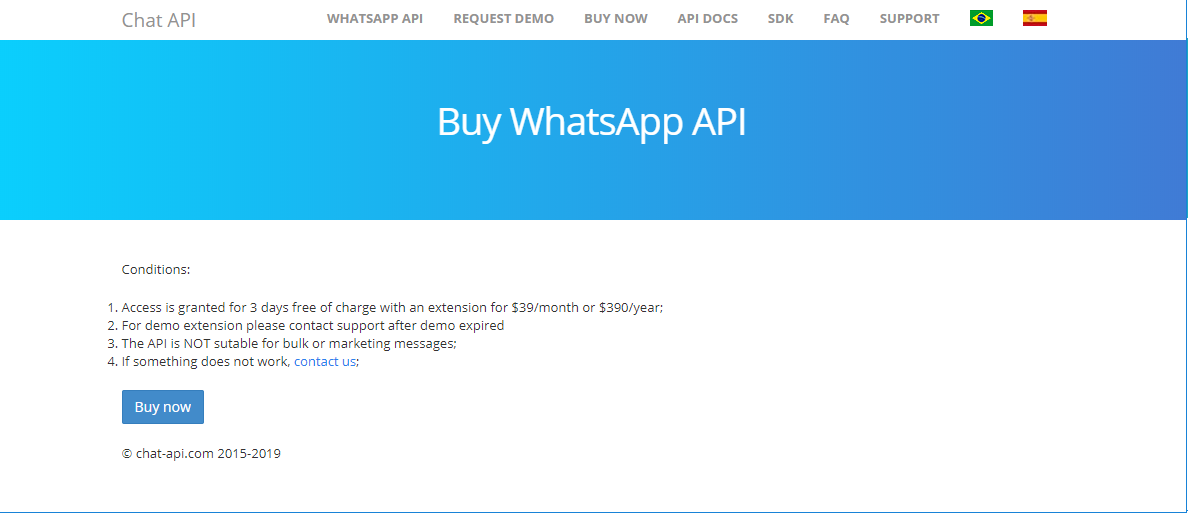
This access is free for the first three days. After this, you will need to purchase a service plan.
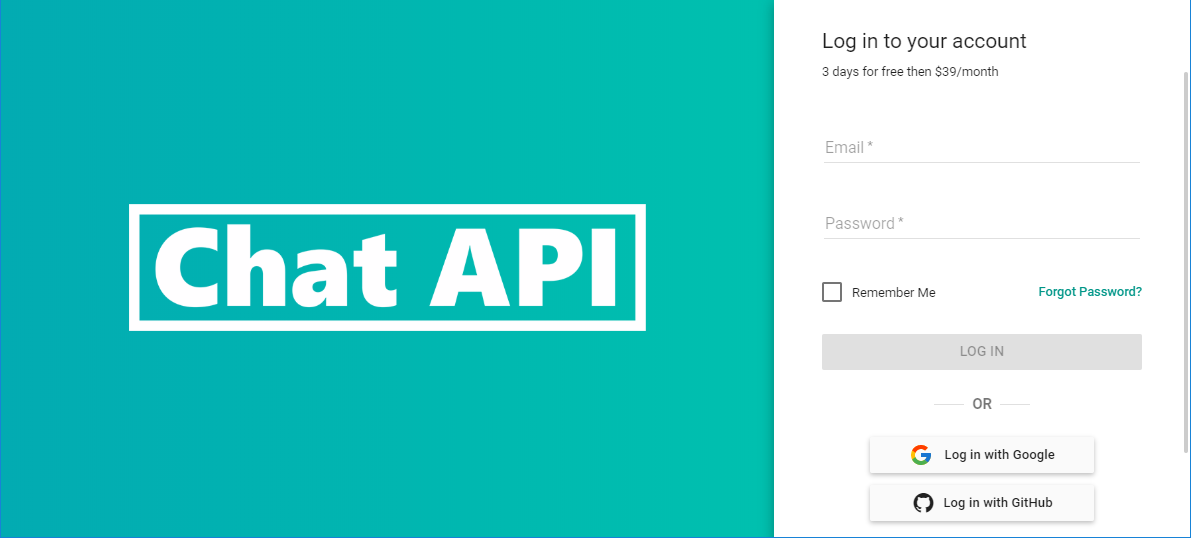
2. Then, create your account and log in to it:
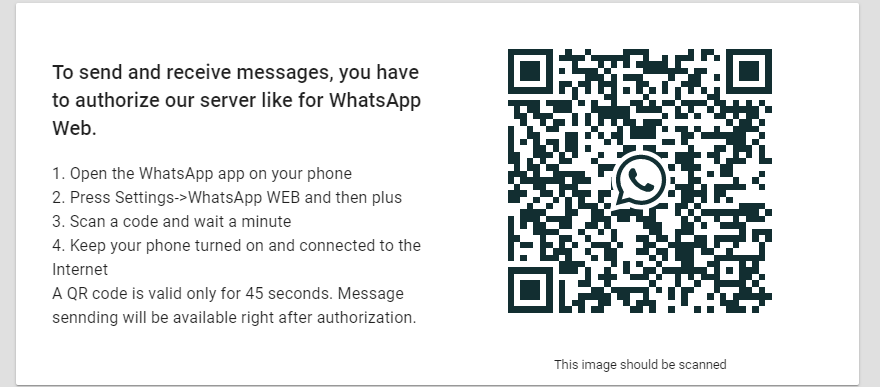
3. On the Chat API panel, you will need to authorize using the API via WhatsApp Web. To do so, you will receive a QR code on the main page of your personal account.
Then, follow the instructions and open WhatsApp on your phone, access «Settings» -> WhatsApp Web -> Digitalize QR code.
4. After reading the QR code, the authentication status will be displayed as “authenticated”, and you will see the URL and API token for using it with Elipse E3.

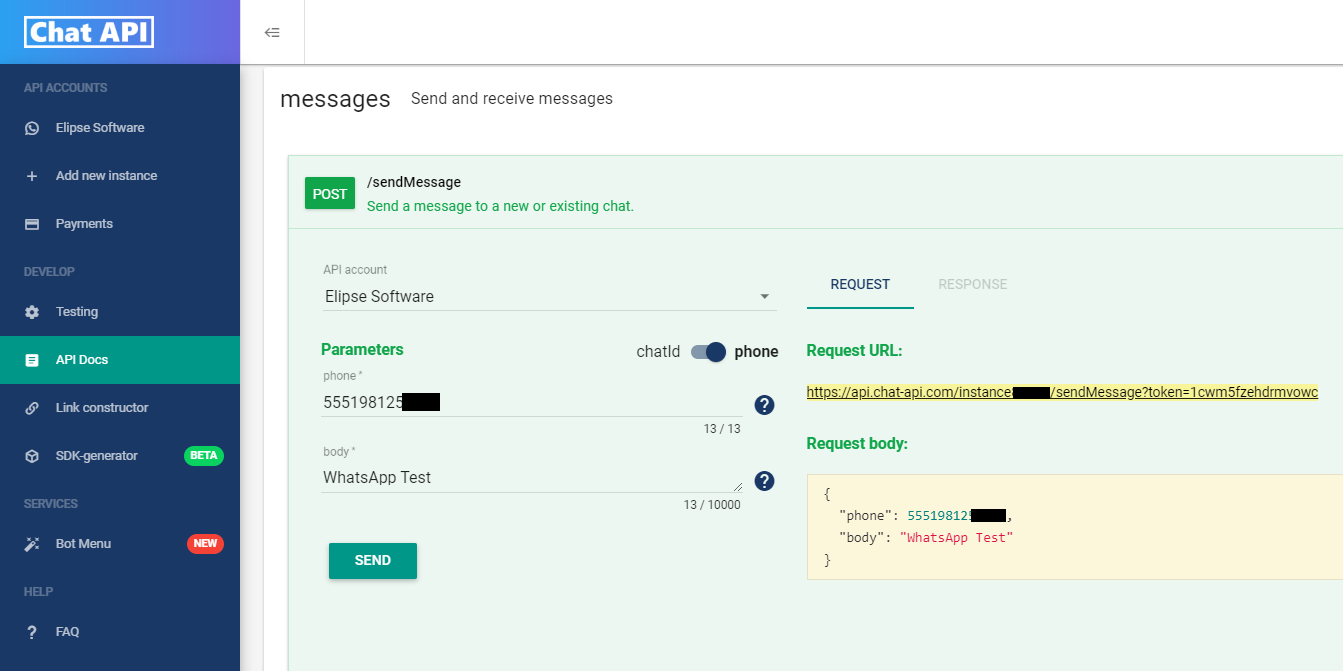
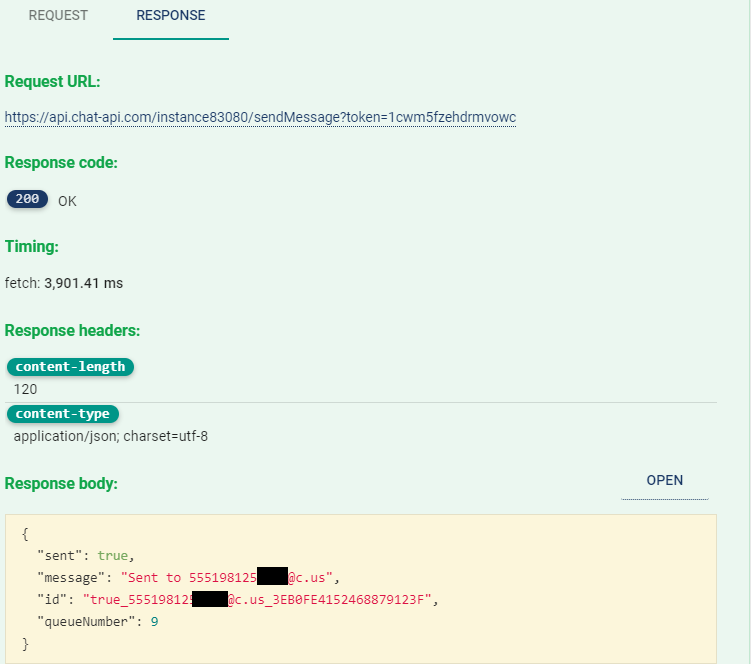
5. To send a test message, access API Docs on the Admin panel and select “POST /sendMessage Send a message to a new or existing chat”. Then, click “phone”, fill out phone * and body * parameters, and after that click SEND. The Request URL field displays the url that must be used at the http request http (POST) via Elipse E3.
6. Then, you will receive the response to the send request:
Using WhatsApp with Elipse E3/Power
1. To write the API, you will use the ServerXMLHTTP object, which supplies methods and properties that allow establishing an HTTP connection between files or objects in different web servers. The script below was used for sending messages to the desired phone number:
Sub CommandButton1_Click()
  ''' The first parameter is the recipient's number, including the country code.
  ''' The second paramter is the content of the message.
  number = Screen.Item("spNumber").Value
  msg = Screen.Item("spMessage").Value

  WhatsAppMessage_Send number, msg
End Sub

function WhatsAppMessage_Send(strNumber, strMessage)

 API_URL = "https://api.chat-api.com/instanceXXXXX/sendMessage?token=1cwm5fzehdrmvowc"
 strJson = "{""phone"": """ & strNumber & """, ""body"": """ & strMessage & """}"

   Set oHttp = CreateObject("Msxml2.ServerXMLHTTP")
   oHttp.Open "POST", API_URL, False
   oHttp.setRequestHeader "Content-type", "application/json"
   oHttp.Send strJson

  sHTML = oHttp.ResponseText
  MsgBox sHTML
  end function

Sub Vazia()
End Sub
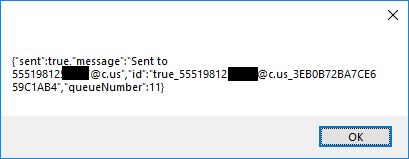
2. After the request for sending the message, the following response is displayed:
Using WhatsApp with Elipse E3/Power via driver VBScript
1. For performance reasons, we can implement text sending via the JSON-structured VBScript driver just by adding the lines below:
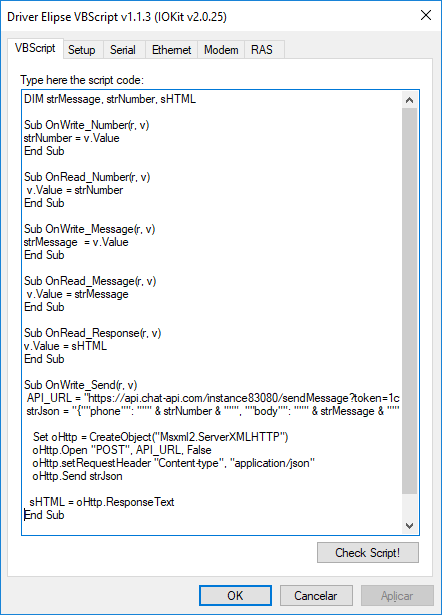
DIM strMessage, strNumber, sHTML

Sub OnWrite_Number(r, v)
strNumber = v.Value
End Sub

Sub OnRead_Number(r, v)
 v.Value = strNumber
End Sub

Sub OnWrite_Message(r, v)
strMessage  = v.Value
End Sub

Sub OnRead_Message(r, v)
 v.Value = strMessage
End Sub

Sub OnRead_Response(r, v)
v.Value = sHTML
End Sub

Sub OnWrite_Send(r, v)
 API_URL = "https://api.chat-api.com/instanceXXXXX/sendMessage?token=1cwm5fzehdrmvowc"
 strJson = "{""phone"": """ & strNumber & """, ""body"": """ & strMessage & """}"

   Set oHttp = CreateObject("Msxml2.ServerXMLHTTP")
   oHttp.Open "POST", API_URL, False
   oHttp.setRequestHeader "Content-type", "application/json"
   oHttp.Send strJson

  sHTML = oHttp.ResponseText
End Sub
2. After that, create four tags in the driver and set them up via Item column (ParamItem property), as seen below:

Finally, you will find a demo application attached to this article. This application was developed with v5.0.437, and it will demonstrate how to send WhatsApp messages via Elipse E3/Power.
Related articles:
- Sending Telegram messages via Elipse E3/Elipse Power.
- Consuming and sending data from a JSON Webservice.
Attachments:

Thank you for sharing such valuable information through this post. I truly appreciate your insights. Please continue to provide updates and more articles. For those interested, you can learn more about Askeva and its updates here.