Introduction
The goal of this article is to clarify a few questions about Oracle’s installation and its many different available modules.
Differences between Oracle 10g Express Edition and Oracle 11g
Oracle 10g Express Edition is the most popular database, due to its easy installation and a relatively small executable file (200 MB). However, this software only allows one database, which is installed with the software. The name of this database is XE, and it is not possible to install another one.
In Oracle 11g, one of Oracle’s most recent versions, it is possible to install as many databases as desired. Its installer is huge, with nearly 2GB.
For communication between Oracle and E3, the main difference between these two versions is only the limitation on the number of databases. The other Oracle 11g functionalities are more important for the IT department.
Oracle also allows access to the database via network. For that, you must install the Oracle client (450 MB) on the remote machine, which is available on the full Oracle 11g installation. With this functionality, two or more applications can have access and write simultaneously to the same database.
Installing the 11g Database
After downloading the installer, go to the folder where the file was saved and click Setup, as seen in the next figure.

Figure 1: Starting the installation
Wait until the dialog box of the beginning of the installation appears. This dialog box asks for a login and a password registered on Oracle website for authentication. In case you do not remember your password, the following screen appears:
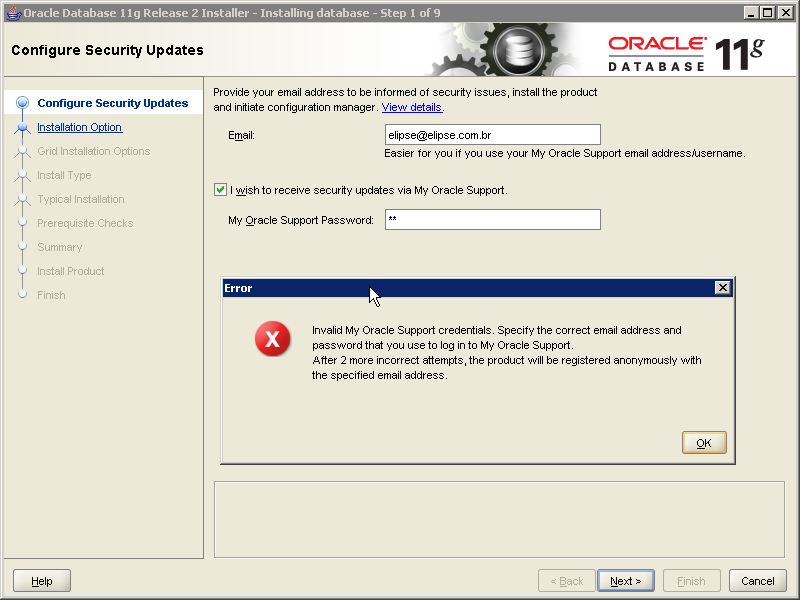
Figure 2: Login and password error
Click Next until the following screen appears:
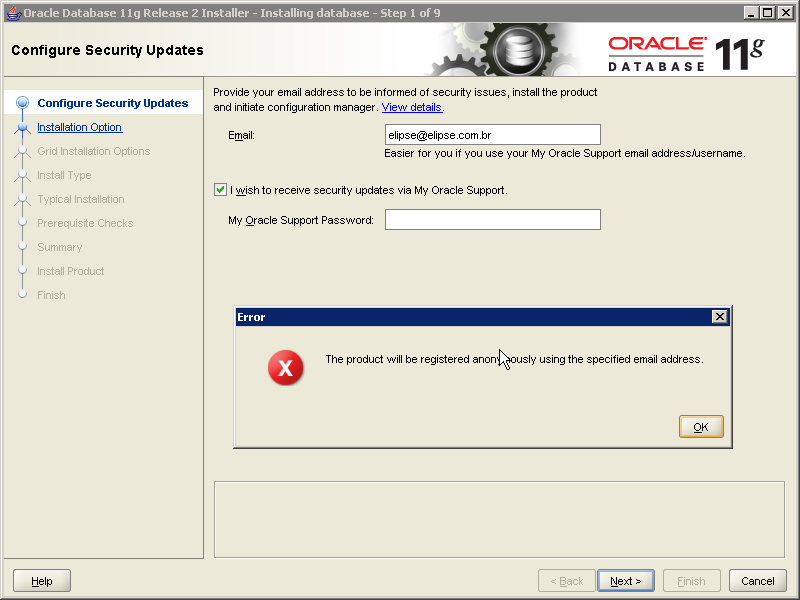
Figure 3: Proceed with the installation
In the next screen, decide whether you install or not a database, with the software. At first, do not install it.
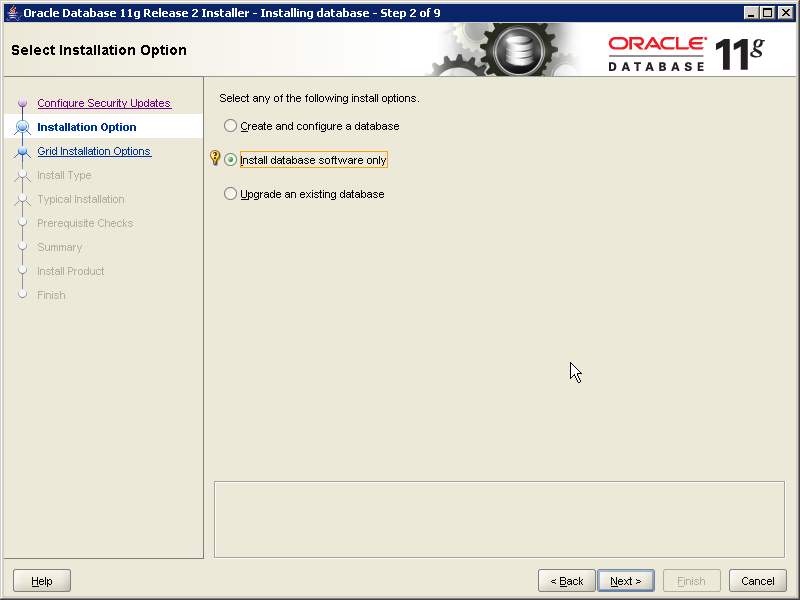
Figure 4: Installation options
In the next screen, you decide the type of database to install. Select Single instance database installation.
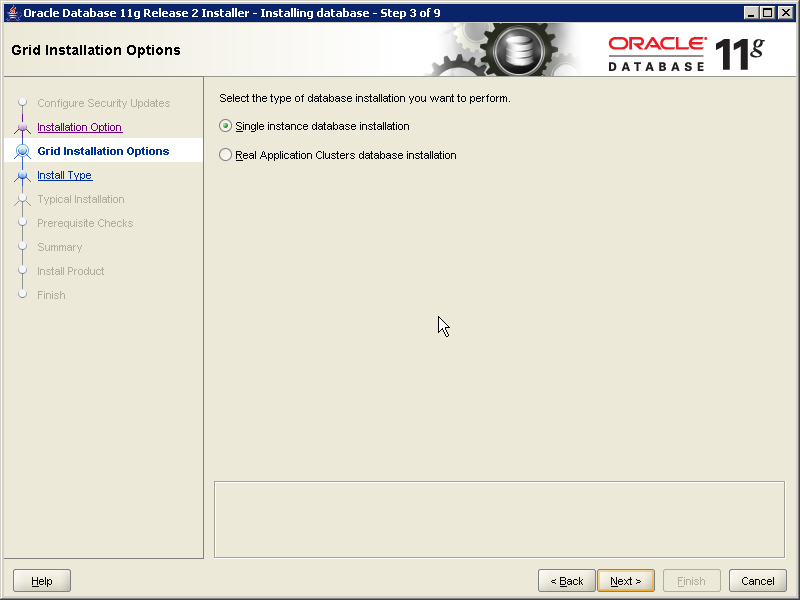
Figure 5: Database type
The next two screens decide which language to install and which software version (Enterprise, Standard, or Personal). These versions vary the components to install. In this example, install the full version, the Enterprise option.

Figure 6: Database language
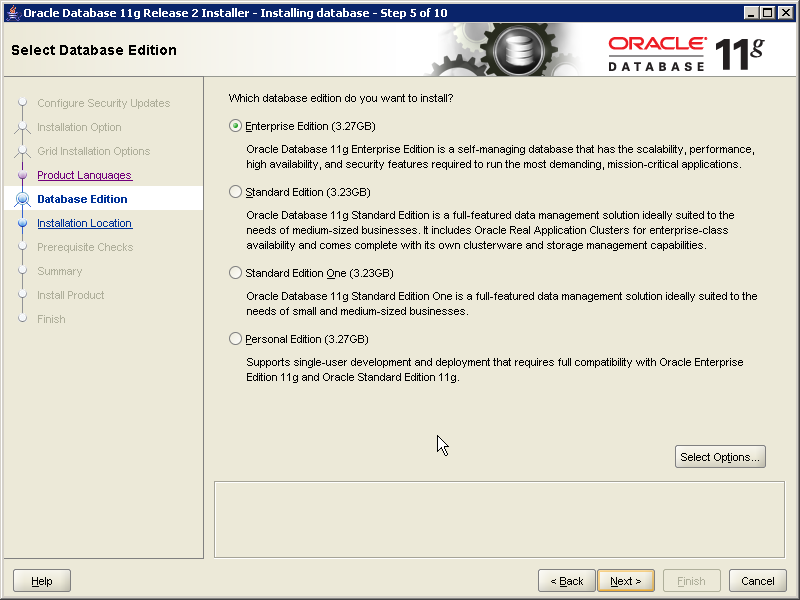
Figure 7: Database version
In the next screen you can define the Oracle installation directory. In this example leave the default, which is C:\App\User_Name.
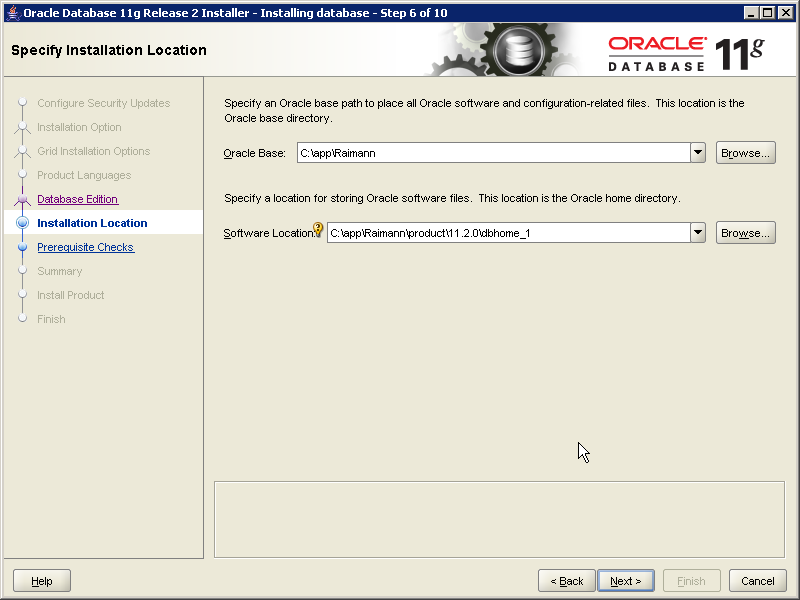
Figure 8: Database installation directory
When the configuration is finished, Oracle tests the availability of the machine resources to install the database. In case all resources are present, the installation can proceed. Otherwise, Oracle notifies about pending resources (it is worth to remember that at least 1GB of RAM is needed):
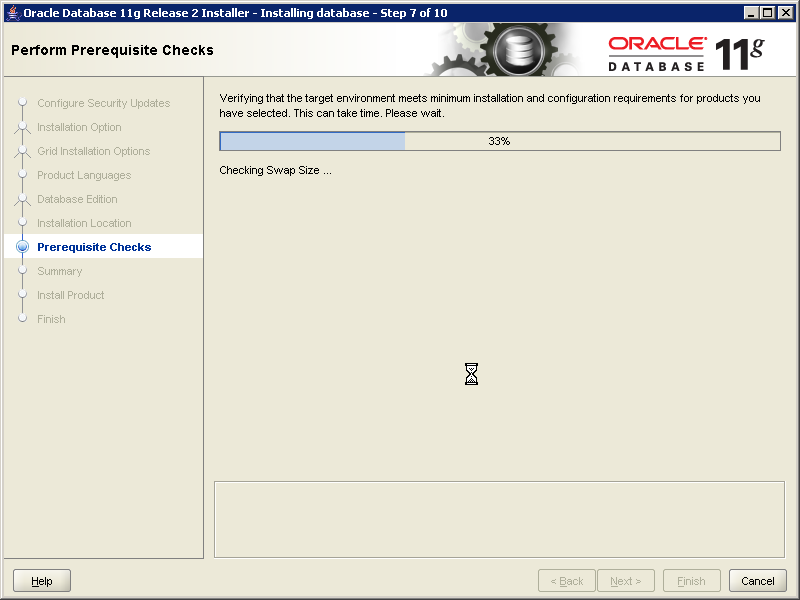
Figure 9: Testing resources
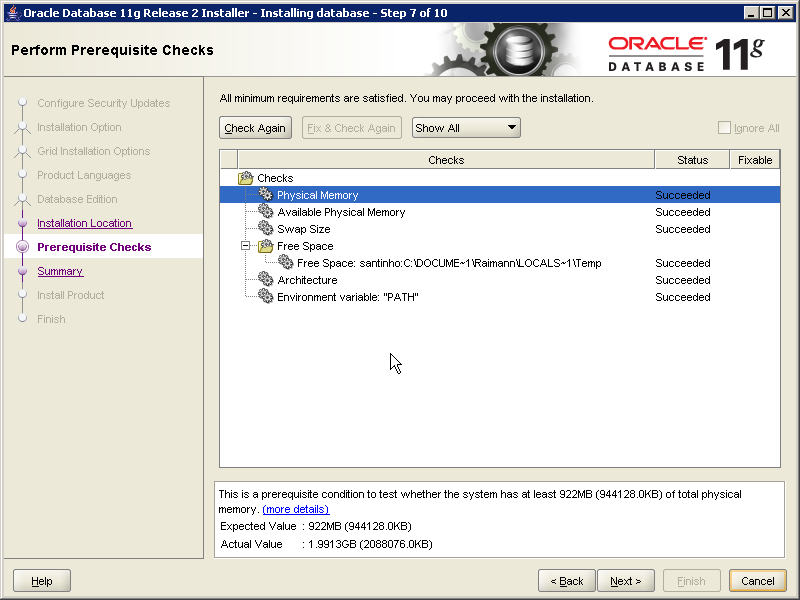
Figure 10: Available resources
From this point on, just wait for the installation to finish.
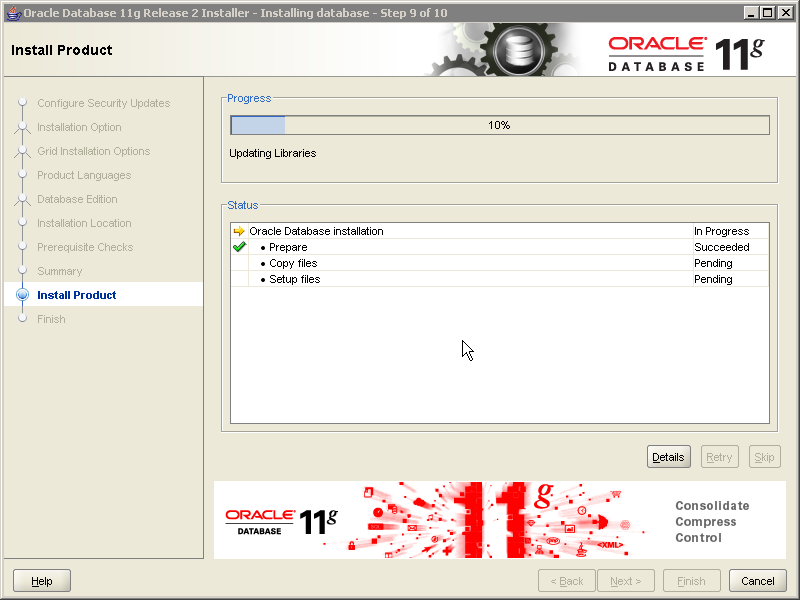
Figure 11: Beginning of the installation
Creating a Database
To create a database go to Start – All Programs – Oracle – Configuration and Migration Tools – Database Configuration Assistant.
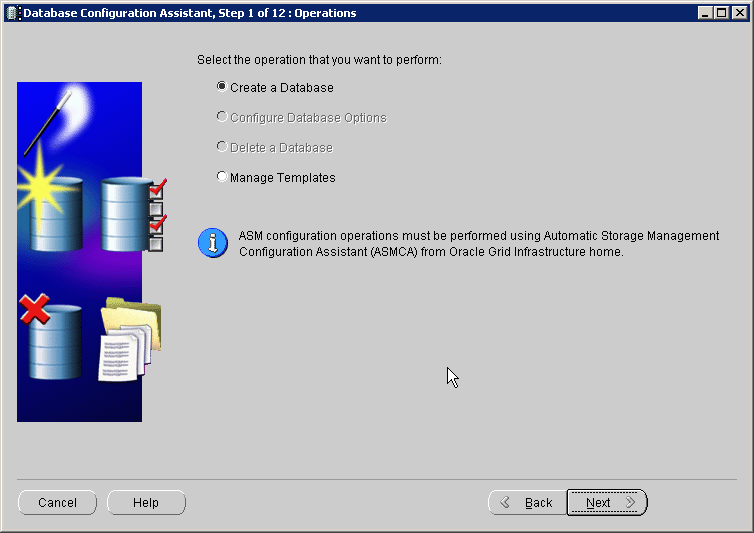
Figure 12: Database Configuration Assistant
Most options available in this Assistant can be left as default. The most important options are the name of the database to create and the password for Oracle default users (System, SYS, etc.). In this example, choose the same password for all these users.
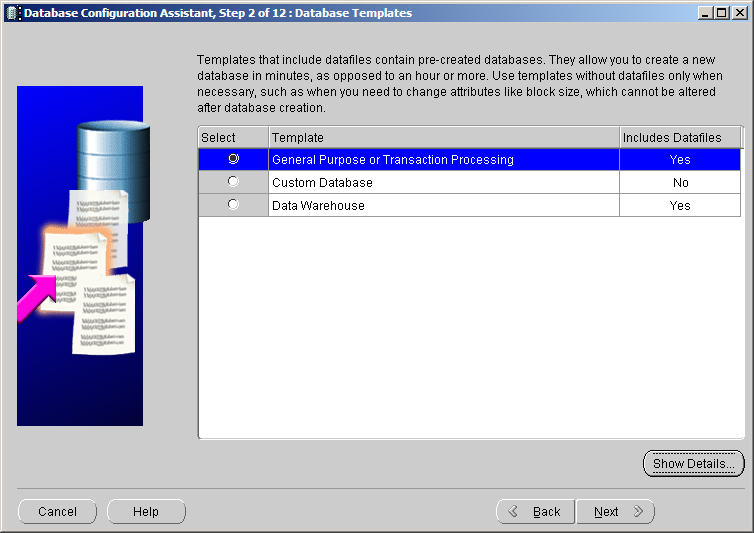
Figure 13: Database template
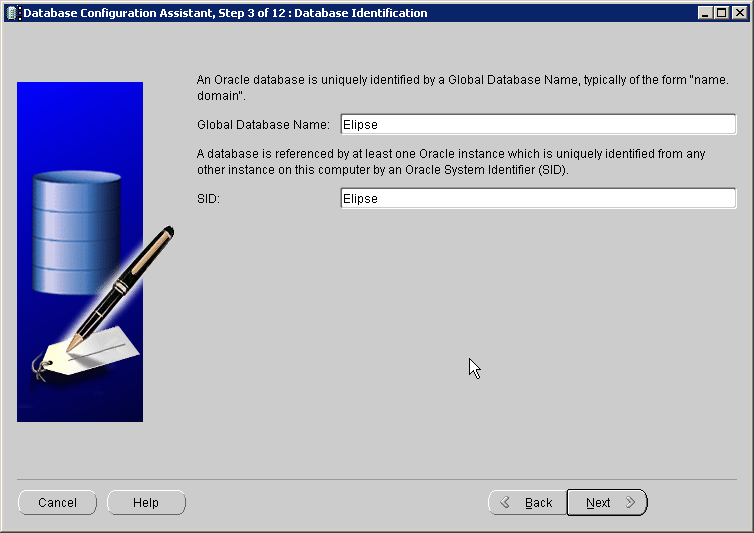
Figure 14: Database name
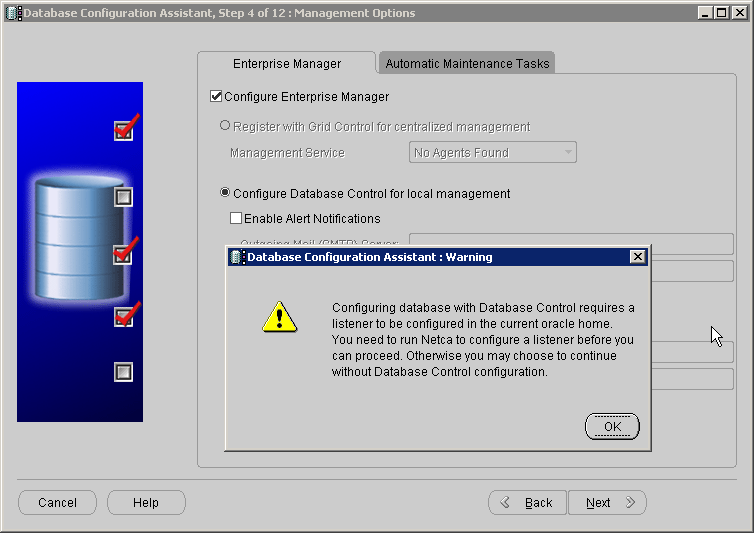
Figure 15: Management options
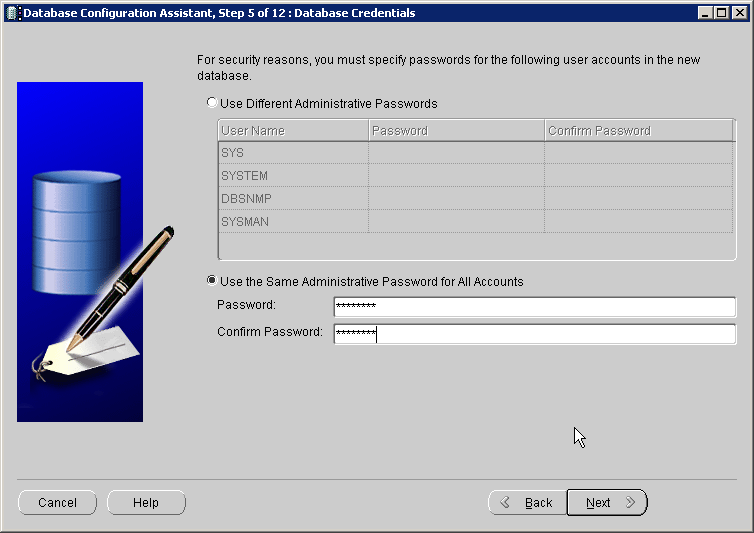
Figure 16: Default user password
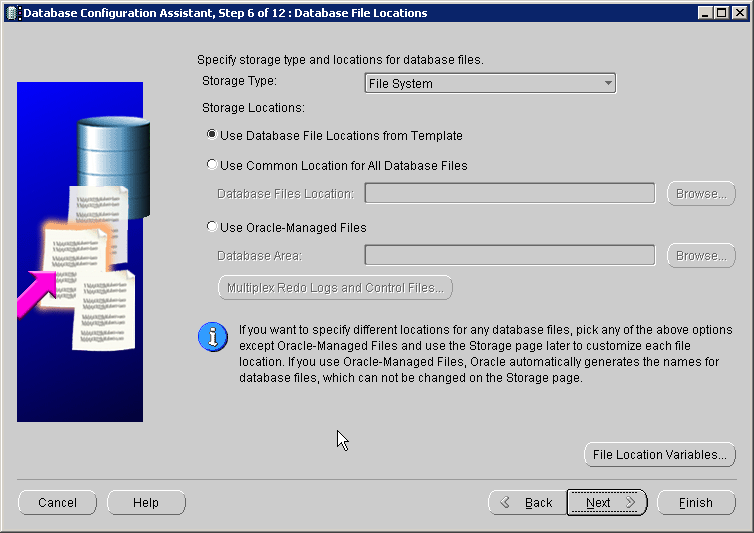
Figure 17: Database location
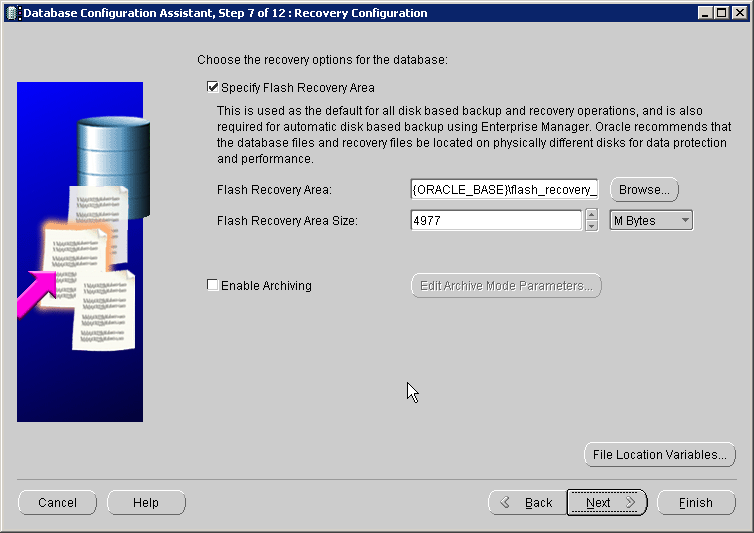
Figure 18: Recovery configuration
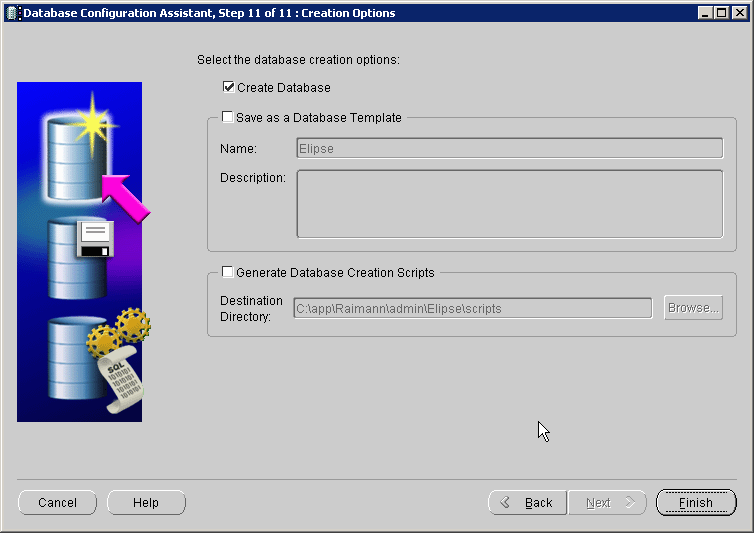
Figure 19: Finishing the configuration
Connecting Oracle to E3
If access to the database using E3 is local, the field Connection may be empty, because E3 automatically searches for the database. This occurs in Oracle 11g, as well as in 10g Express Edition. However, there is one exception. If there are two databases on the machine with the same user and password, there may be a conflict, because E3 does not know which one to connect.
To access a database through a network, you must create a Service. This configuration is done using the Oracle Net Configuration Assistant, which is in Start – All Programs – Oracle – Configuration and Migration Tools. It is also possible to configure a service to access a database locally.
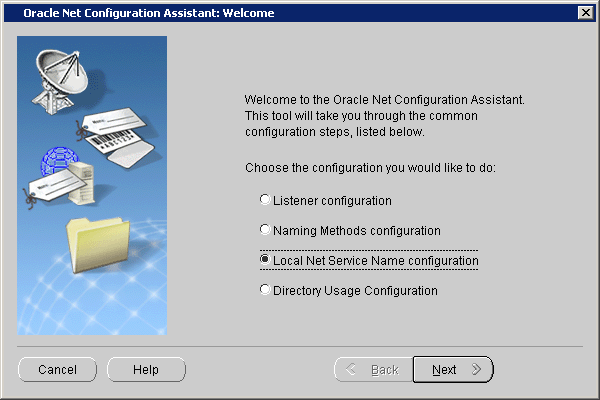
Figure 20: Creating a service
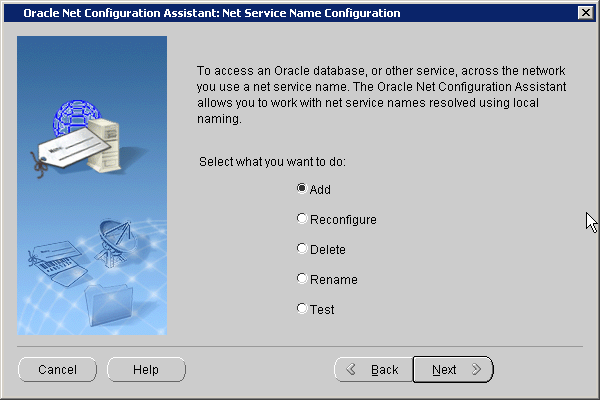
Figure 21: Adding the service
The next screen asks for the service name. Here you type the name of the database created previously.
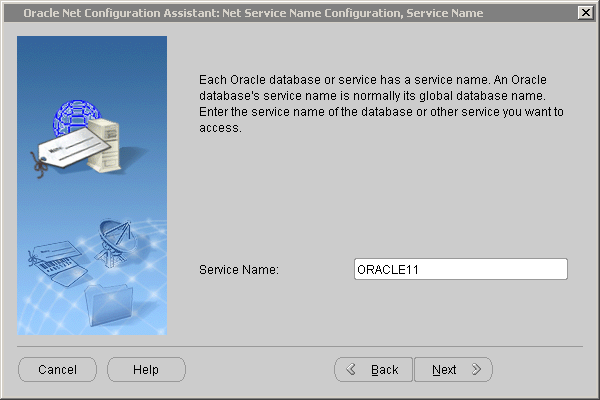
Figure 22: Name of the database
In the next screen you select the communication protocol with the database (in this case, TCP).
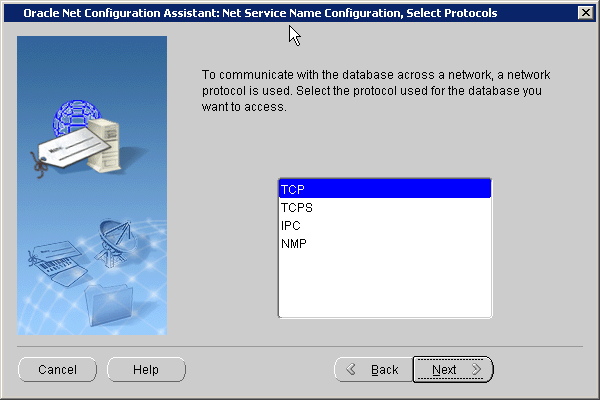
Figure 23: Communication protocol
In this screen, which asks for a host name, you must type the name of the computer which is the database server. Therefore, it might be a computer on the network, as well as your own computer. Use the default port.

Figure 24: Computer name
After the configuration, click Yes, perform a test. If there is a denied access error (a login error), click Change Login and type the user and password registered while installing the database. If the test is successful, just configure a name for the service. This is the name to type in the Connection field in E3.
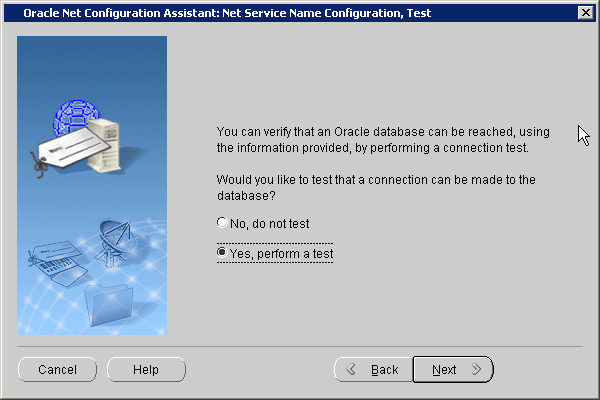
Figure 25: Perform a test
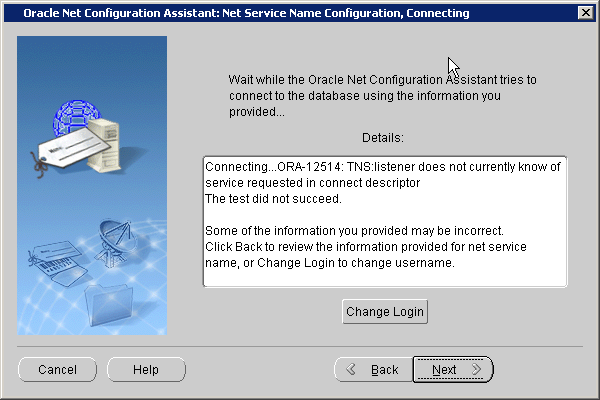
Figure 26: Login error

Figure 27: Change login
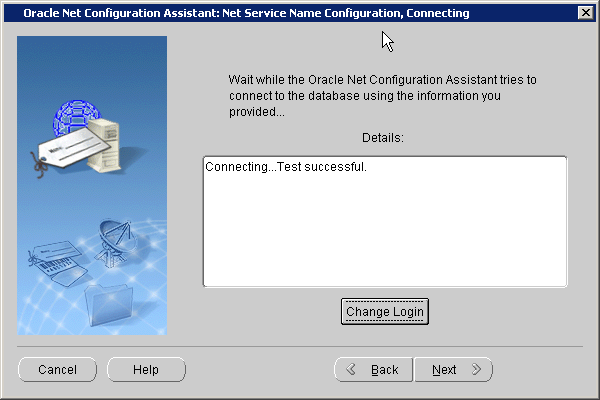
Figure 28: Successful test
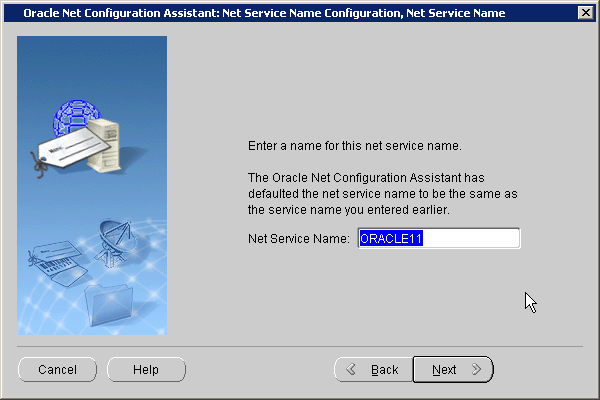
Figure 29: Service name
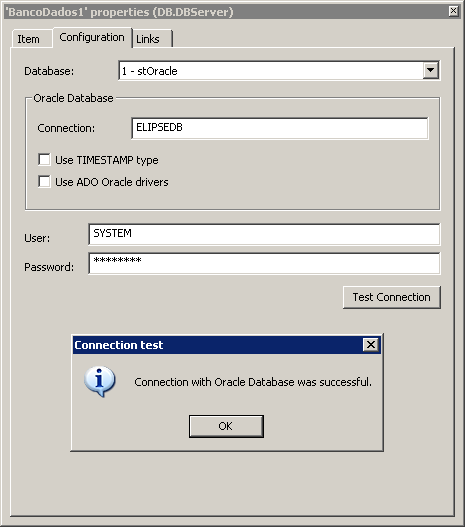
Figure 30: Successful connection
Listener
The Listener is one of the most important processes executed by Oracle. Briefly, it receives connections, authenticates the user with its proper permission, and connects the client with the database server. The detailed steps are:
-
A client connects to the Listener with its network address.
-
Listener receives a session request and determines whether the client request can be performed. If not, the Listener refuses the session, and then keeps listening.
-
The Listener generates a dedicated server process to perform the received session.
-
The Listener transfers the session to the server process.
-
After establishing the session, data directly flow between the client process and the dedicated server.
-
The Listener keeps listening to received sessions.
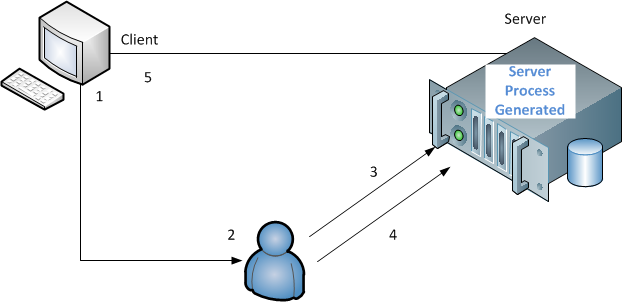
Figure 31: How Listener works
Only one Listener is needed to manage databases from a server. If, when installing the database, the following screen appears:
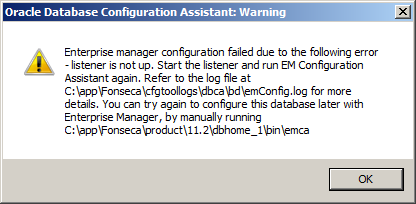
Figure 32: Listener error
Or the following error appears during the network service creation:
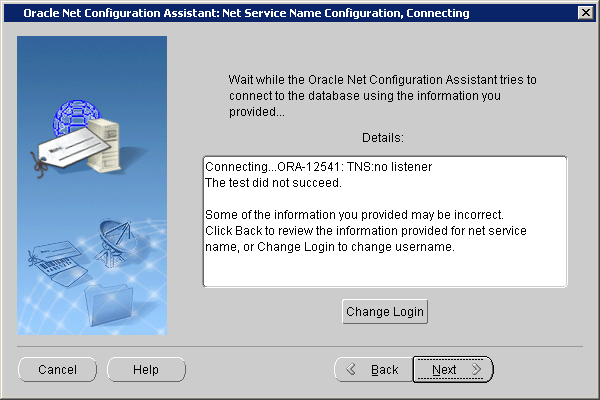
Figure 33: Listener error
These errors can be due to the fact that the Listener is not active, an incorrect configuration, or the database cannot connect to the Listener.
To solve this problem, delete the Listener and create another one using a command prompt. Type lsnrctl and press the ENTER key. Then type start listener. After creating the Listener, restart the database service.

Figure 34: Restart the database service
In case the problem continues, delete and create a new database, as well as the Listener. In some cases, the Listener service stays active even after deleting it. For this, you must delete the service via prompt, using the command sc delete.
Deleting a Listener
You can delete the Listener using the Oracle Net Configuration Assistant.
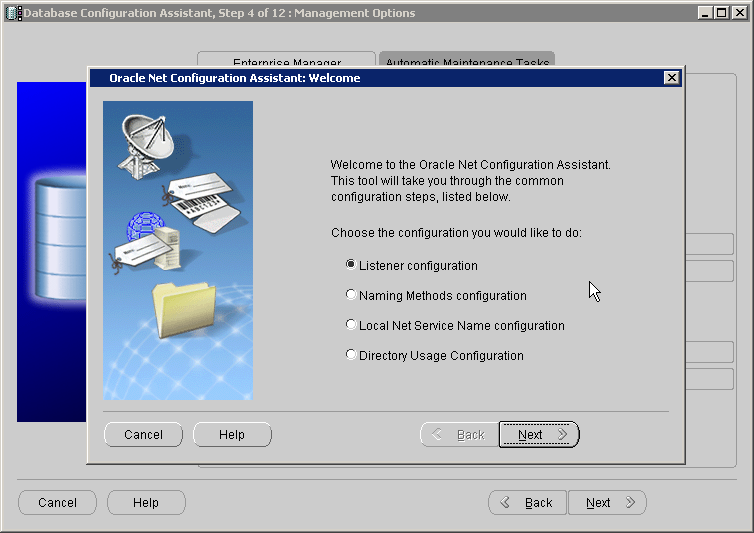
Figure 35: Listener Configuration Assistant
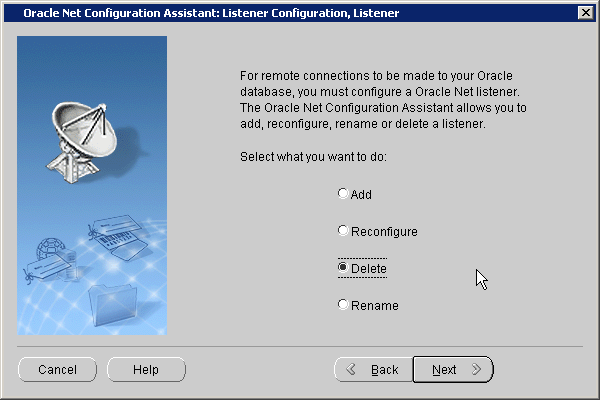
Figure 36: Delete the Listener
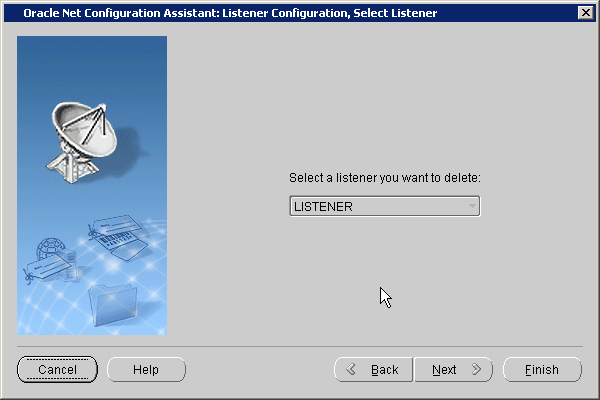
Figure 37: Select the Listener

Figure 38: Listener service still active
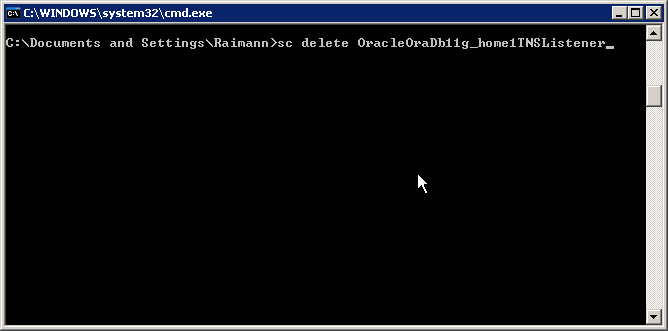
Figure 39: Deleting the service
Creating a Listener
Besides the command prompt mode previously mentioned, you can create a Listener using the Oracle Net Configuration Assistant. Just click Listener Configuration – Add. Follow the Assistant, keeping the default options.
Deleting a Database
Using the Database Configuration Assistant, you can delete a database. It is important to know that you must type the SYS user and the configured password to enable this operation:
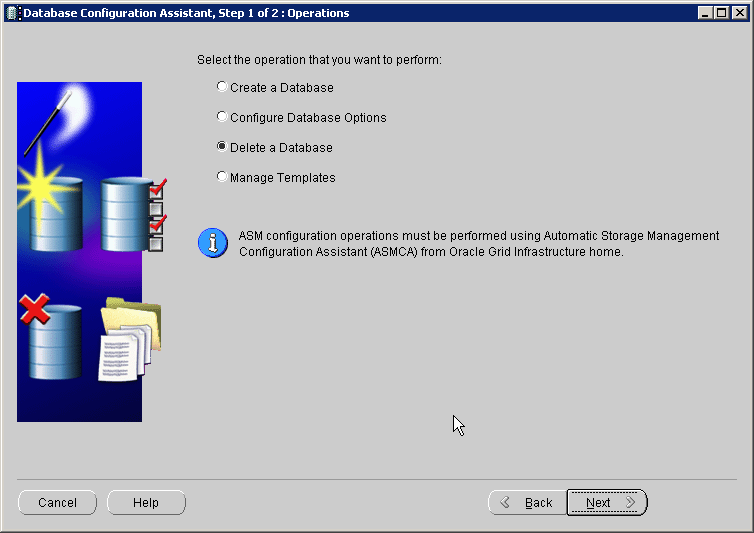
Figure 40: Deleting a database
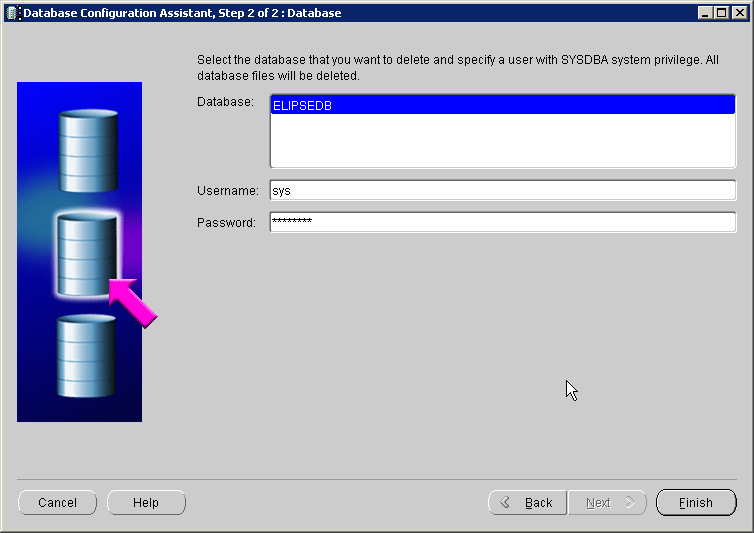
Figura 41: Selecting the database
Uninstalling Oracle
To uninstall the software, you must search for the executable deinstall, which is located, in case of default installation, in C:\app\User_name\product\11.2.0\dbhome_1\deinstall\.

Figure 42: Deinstall file
Using this command prompt assistant, you can uninstall the program. To be successful, just type what is asked inside brackets, as displayed in the next figures, except for the last question, where you must type Y (Yes) and then type ENTER.
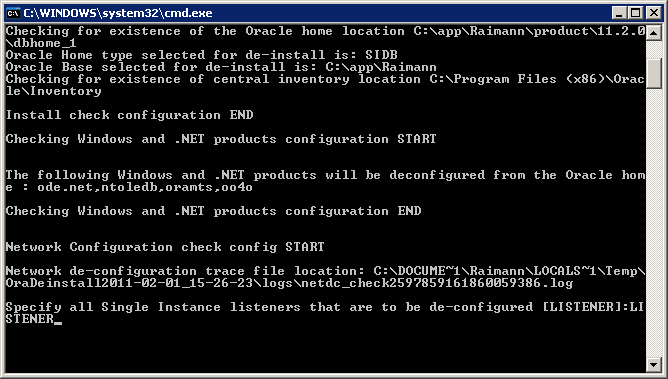
Figure 43: Software deinstallation (Selecting the Listener)
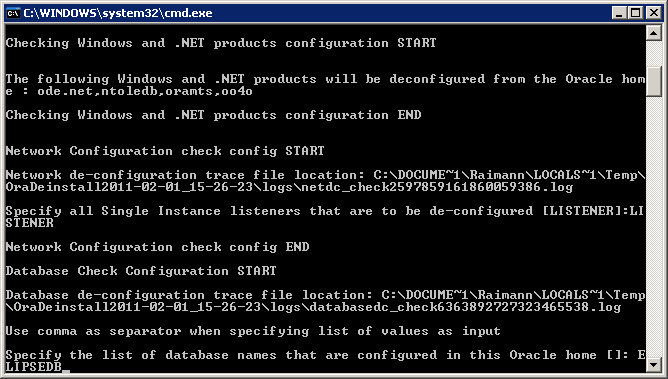
Figure 44: Software deinstallation (Selecting the database)
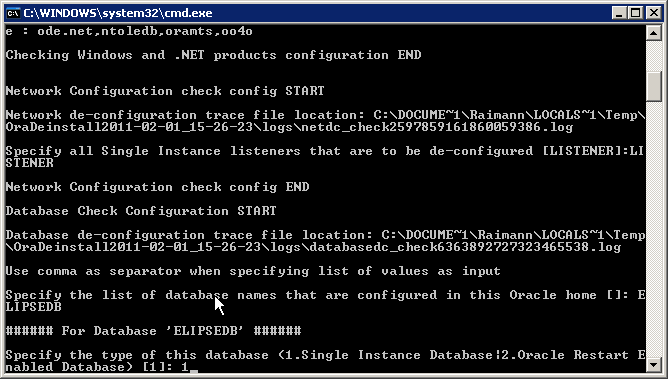
Figure 45: Software deinstallation (Confirming the database)
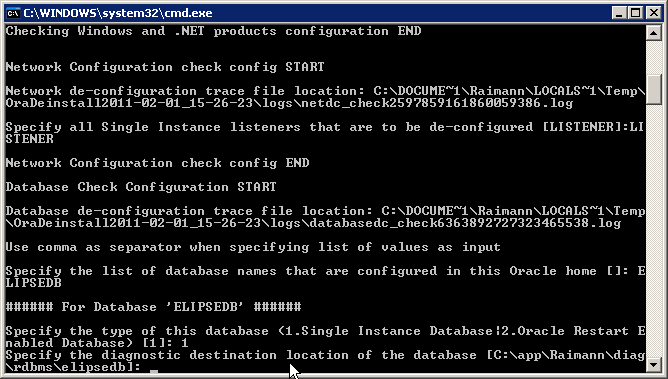
Figure 46: Software deinstallation (Confirming the deinstallation)
Oracle 11g Interface
After successfully creating a database, Oracle creates a shortcut to the database manager. This manager can be viewed using an internet browser.
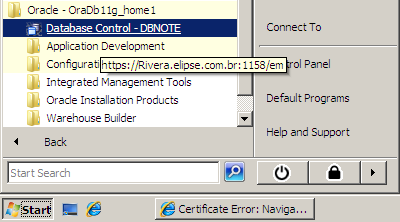
Figure 47: Location of the database manager shortcut
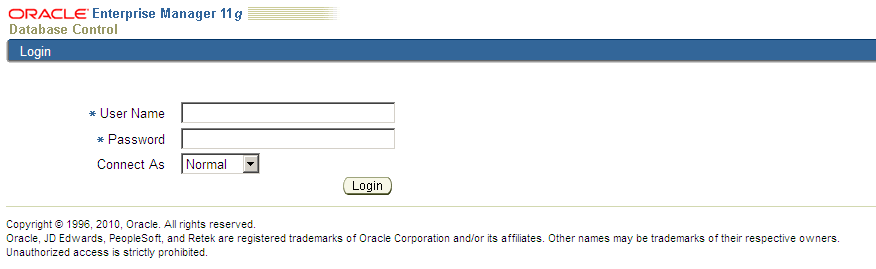
Figure 48: Database manager login page
In the login page, you must perform the first access with the SYSTEM account. Then you can login as another user, which must be registered in the manager.
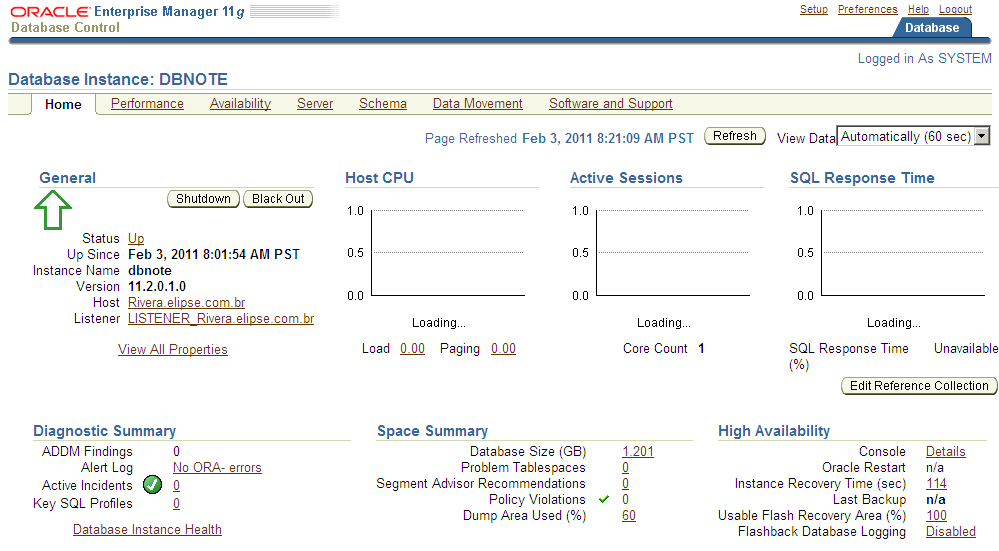
Figure 49: Part of the main page of the manager
To unblock or create users, you must click the Server – Security – Users tab.
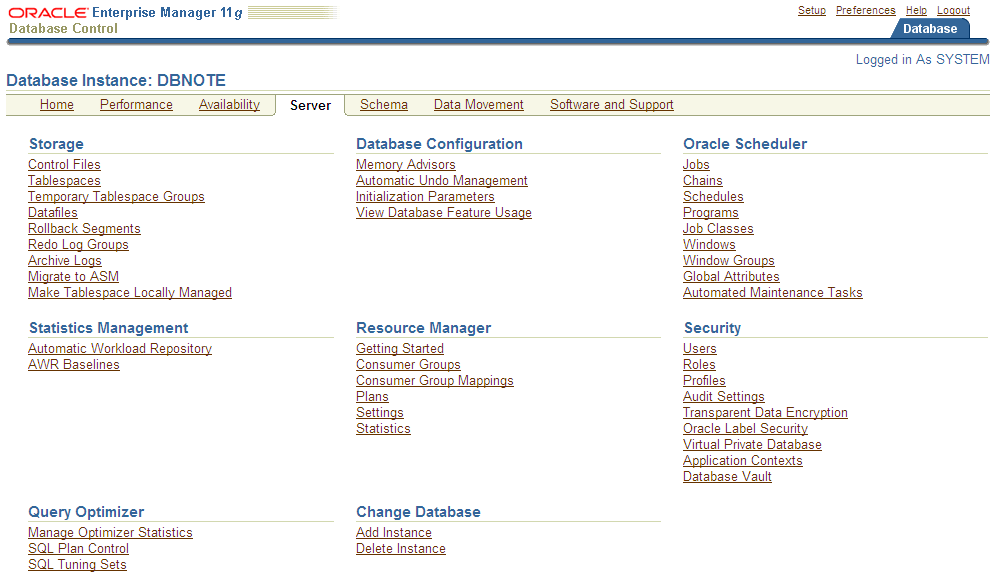
Figure 50: Security tab
To view the tables recorded in the database, you must click the Schema – Database Objects – Tables tab.
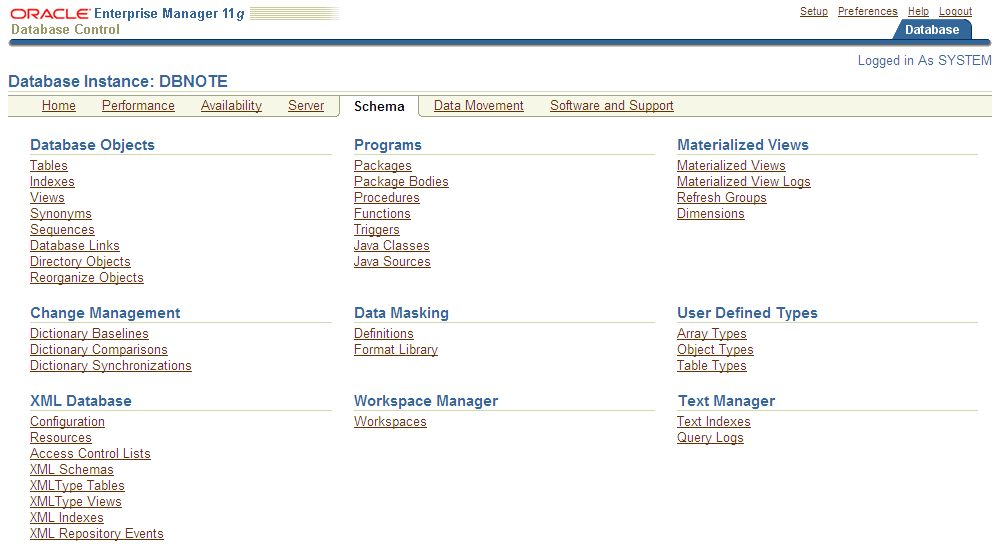
Figure 51: Viewing tables
There are two ways to stop and restart the database service. The most recommendable way is through Windows. Type services.msc in Run. The Service to be stopped or restarted is OracleServiceDatabase_Name, as in the following figure.
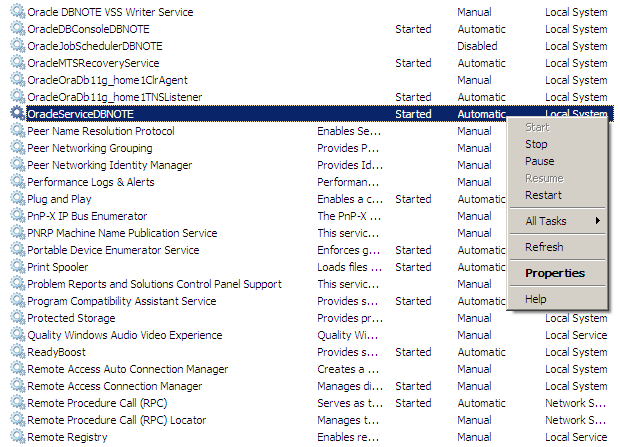
Figure 52: Stopping or restarting the database
Conclusion
Through this guide you can easily use the Oracle database to communicate with E3. Here you have a description of the common problems and its possible solutions.
As Oracle 10g has only one database, and it is installed with the software, the problems with the Listener do not happen in this version.
Unlike Oracle 10g Express, it is not possible to remove Oracle 11g using the Windows control panel Add and Remove Programs, only by the process described in Deinstalling Oracle.
Choosing one program or the other depends exclusively on the needs and resources available to the client. Both are widely used.

Advanced Queuing leverages the functions of the Oracle database so that messages can be stored persistently, propagated between queues on different machines and databases, and transmitted using Oracle Net Services, HTTP(S), and SMTP.