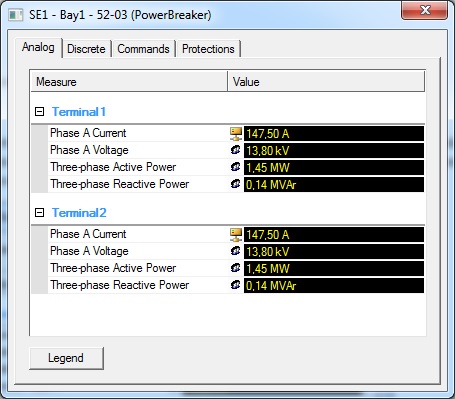
The PowerExplorer is a feature that automatically lists all analog and discrete measurements in a device, as well as all its commands and protections, with no need for further settings.
This article illustrates a few alternatives for customizing the PowerExplorer’s interface.
Accessing the object’s methods and properties
To apply any changes to the interface’s behavior, you must first access the script of the XPowerMenuCreator object, which is an XControl belonging to PowerControls libraries.
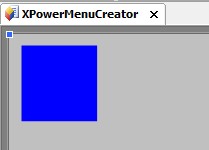
At Rectangle1’s script, use the script’s editor Search tool to retrieve “ShowPowerExplorer” text.
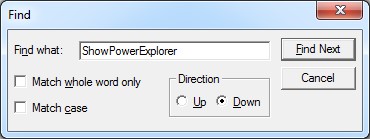
The line containing this method will be retrieved. It is usually somewhere near line 300, but this position may vary according to the version of the library being used.
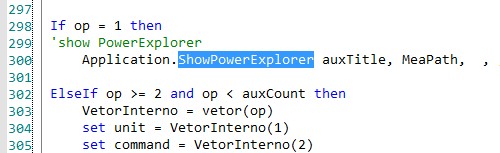
Right below this line, add the following script:
With this, the PowerExplorer object will be referred in the script’s PE variable. Thus, you will be able to access all its methods and properties. The more relevant ones will be shown next.
Interlocked commands behavior
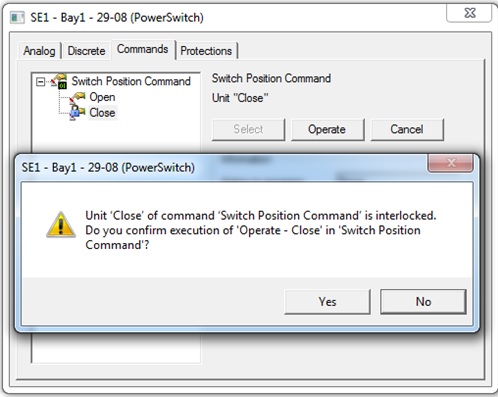
The PowerExplorer has three different behaviors for the interlocked commands tab. To do so, set up CommandInterlockMode property with one of the following three values:
- 0 – cimDoNothing: doesn’t send the command, doesn’t show the interlock notice, and doesn’t disable the Operate button on PowerExplorer’s Commands tab.
- 1 – cimWarning: allows sending the command, but warns the user that this command unit is interlocked. The message is shown alongside the message that asks for confirmation for sending the command.
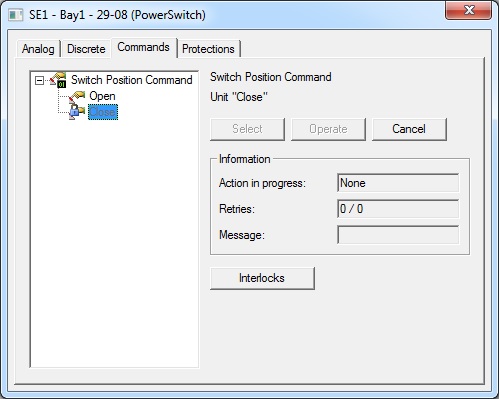
- 2 – cimBlockCommand: blocks sending the command, disabling the buttons even when there are set up scripts. The exception is the Cancel button, which is never disabled.
The script should look like this:
set PE = Application.GetPowerExplorer(MeaPath)
PE.CommandInterlockMode = xxx ‘0, 1 ou 2
Opening the window in Read Only mode
You must edit ReadOnly property. When it is set up as True, you can neither edit measurements nor send commands (the command’s Select, Operate, and Cancel buttons are disabled). This property’s default value is False.

The script should look like this:
PE.ReadOnly = xxx ‘TRUE ou FALSE
Displaying the timestamp’s measurements
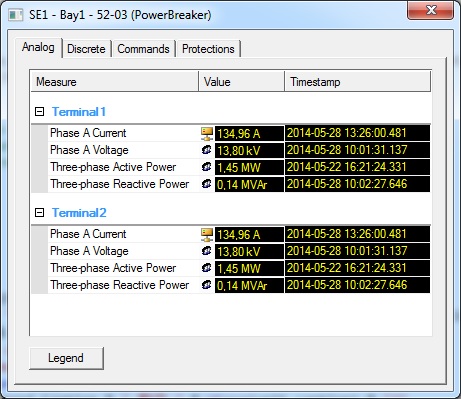
You must edit ShowMeasurementTimestamp property. When it is set up as True, an extra column will be displayed at PowerExplorer’s window, with the measurement’s timestamp. These settings apply to the three tabs showing the measurements: Analog, Discrete, and Protections.
The script should look like this:
set PE = Application.GetPowerExplorer(MeaPath)
PE.ShowMeasurementTimestamp = xxx ‘TRUE ou FALSE
Hiding tabs
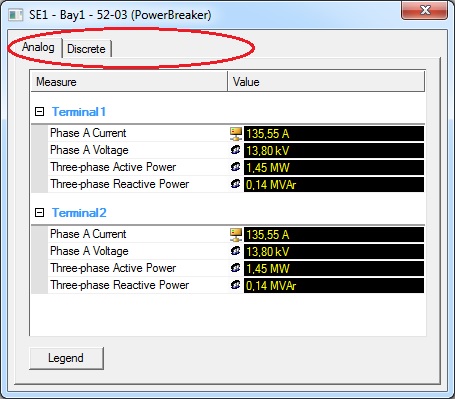
You must edit TabsEnabled property, which allows you to set up the visible tabs on PowerExplorer window. If the window is already open, the tabs will be immediately updated. The property’s final value is any sum of the following values:
- 1: Shows only the Analog tab
- 2: Shows only the Discrete tab
- 4: Shows only the Commands tab
- 8: Shows only the Protection tab
For example, value 3 will show Analog and Discrete tabs while hiding Commands and Protections; value 12 shows Commands and Protections tabs while hiding Analog and Discrete. Special value -1 always shows all tabs (default). Value 0 (zero) is not accepted, which means you can’t hide all tabs (any attempt to do so will generate a script error).
The script should look like this:
set PE = Application.GetPowerExplorer(MeaPath)
PE.TabsEnabled = xxx ‘value between 1 and 15
Adding customized tabs
You must use InsertScreenTab method:
InsertScreenTab(TabName, TabTitle, ScreenPath[, Arg])
This tab is always inserted in the last position. Its parameters are:
- TabName: this tab’s internal name. The method generates a script error if the tab’s name is an empty string or one of the default names (Analog, Discrete, Commands, or Protections).
- TabTitle: this tab’s title. This is the text viewed by the operator on screen. If this parameter is empty, the value displayed is the same as TabName parameter.
- ScreenPath: name of the screen that will open when the tab is selected.
- Arg: optional parameter, indicates the argument that will be passed to the screen when it opens. When clicking on the tab to activate it, the screen’s OnPreShow event is fired, receiving then the value passed by Arg parameter.
The script should look like this:
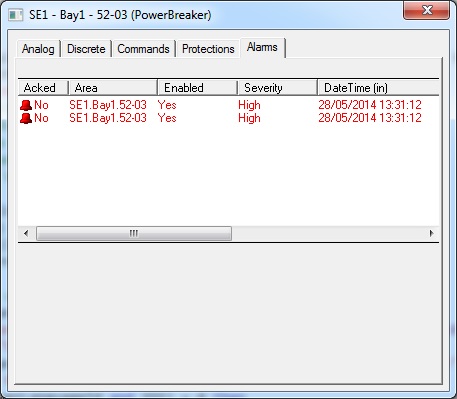
PE.InsertScreenTab “AlarmsTab”, “Alarms”, “Alarms_Screen”, MeaPath
In this example, a tab called Alarms will be available to the operator, and when clicked it will open the Alarms_Screen screen. The device has been passed as an argument, therefore the developer must capture this information at the screen’s OnPreShow event and use it to set up its alarms banner’s filter.
Changing the screen’s initial tab
You must set up ActiveTab property. It receives a string with the name of the desired tab. The possible values are: Analog, Discrete, Commands, Protections, or any other name the user had added as a customized tab.
The script should look like this:
set PE = Application.GetPowerExplorer(MeaPath)
PE.ActiveTab = “xxxx” ‘tab name
You should remember that all of the object’s methods and properties are documented at the Elipse Power’s Scripts Reference, under Visualization–PowerExplorer. This article only presents the more important one, but a thorough and careful read of Elipse Power’s documentation is recommended for further information on this subject.
