AddObject(strClassName, bActivate)
The AddObject() method adds a new object to the application.
strClassName: type of object that to be created.
bActivate: indicates if the object will be activated after creation.
When the object is activated, the links and the script become enabled. If the object is created with bActivate set to False, it can later be activated by the Activate() method.
Example:
set rectangle = Screen.AddObject(“DrawRect”, True)
rectangle.X = 200
rectangle.Y = 200
rectangle.ForegroundColor = vbRed
With…End With
Multiple properties of the same object can be changed by using With…End With. The code runs faster because the object is referenced only once.
Example:
With Screen.Item(“Rectangle1”)
.BackgroundColor = vbRed
.BorderColor = vbBlack
.Effect3D = 1
.Visible = True
End With
TypeName(varname)
Returns a String value containing information about a variable of data type.
The type of the object may be seen on the list of properties:
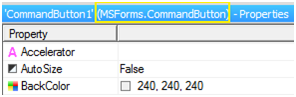
Figure 14
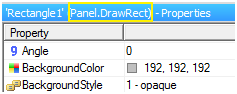
Figure 15
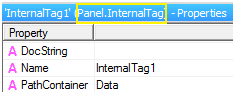
Figure 16
Example:
set Tag = Application.GetObject(“Data.InternalTag1”)
MsgBox TypeName(Tag)
‘A message box will be displayed with the text “InternalTag”
set Button = Screen.Item(“CommandButton1”)
MsgBox TypeName(Button)
‘A message box will be displayed with the text “CommandButton”
Exercises:
1. By clicking on screen, create a blue rectangle at the click position.
2. Create a button that creates an internal tag and a demo tag in Data folder in runtime.
3. Link the rectangle’s color to the demo tag via scripts (table link), according to the following color table:
| Min | Max | Color |
| 0 | 25 | Green |
| 25 | 50 | Blue |
| 50 | 75 | Yellow |
| 75 | 100 | Red |
4. Create a ComboBox. It must display the name of all internal tags in the Data folder. The ComboBox can be updated via [Refresh] button. To differentiate between demo tag and internal tag, use the TypeName command.
5. By selecting a tag in the ComboBox, a setpoint must be created on screen and linked to the selected tag. Use X=0, and Y will vary according to the number of setpoints already created.
6. By right-clicking on screen, a menu with the name of all the setpoints on screen should be listed. To find out if the object on screen is a setpoint, use TypeName command.
7. By selecting a setpoint on the screen’s menu, delete the object. Display a message asking for confirmation before deleting.
Attachments:
