This article illustrates how to migrate from an Access database directly to an SQL Server. SSMA is a tool provided by Microsoft that converts Access database objects into SQL Server objects, loads these objects into SQL Server, and then migrates data.
Pre-requisites
For this article, the following items are required:
- .Net Framework Version 2.0 (download)
- SQL Server 2005 (Express, Standard, Enterprise) installed (download)
- MS Access (2000, 2002, 2003) – migrating file
- MS Visual J# Version 2.0 (download)
- SQL Server Migration Assistant (SSMA) (download)
Creating a database on SQL Server 2005
First, a new database will be created in the SQL Server, which will receive the objects migrating from Access database.
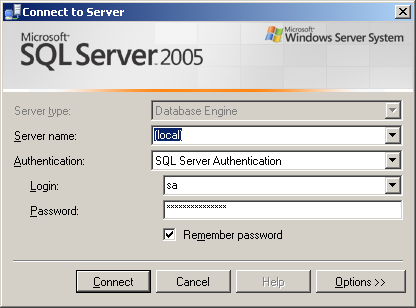
1. Connect to SQL Server:
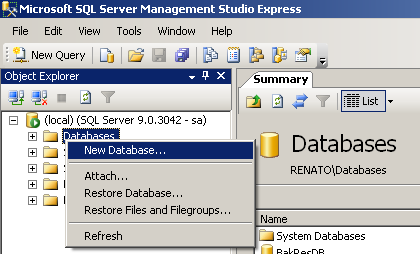
2. Right-click on Databases and select New Database option.
3 In Database Name, type a name for the new database and click OK.
Installing the SQL Server Migration Assistant
1. After downloading and executing the SQL Server Migration Assistant (SSMA), this window will be displayed:
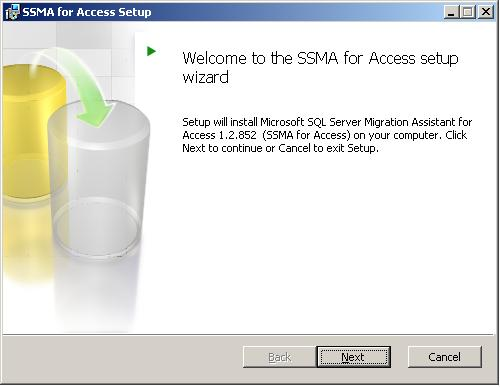
2. On the wizard’s welcome screen, click Next.
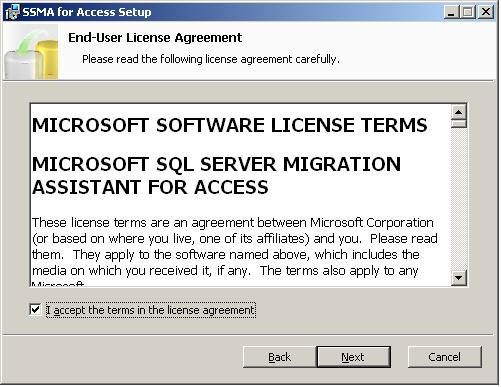
3. The license agreement terms will be displayed; check the box and click Next.

4. This screen will ask you to send automatic reports to Microsoft about the software; this item is optional.
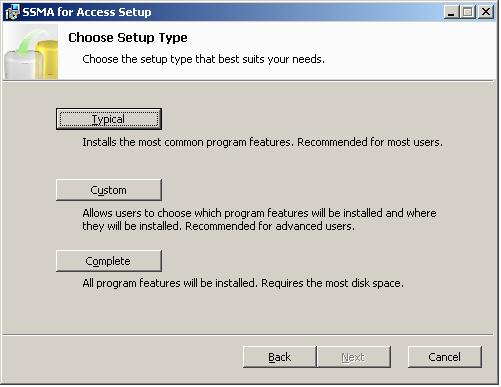
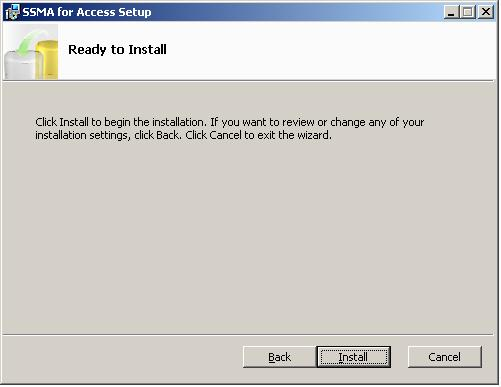
5. On this screen, select Typical. Click Install on the next screen:
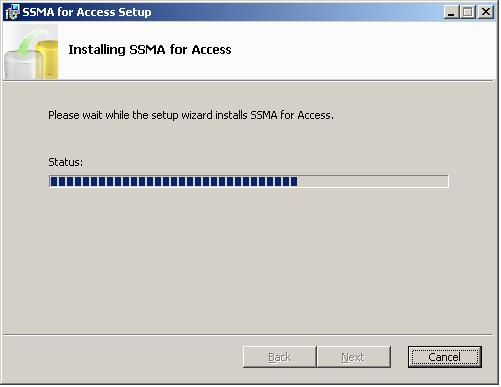
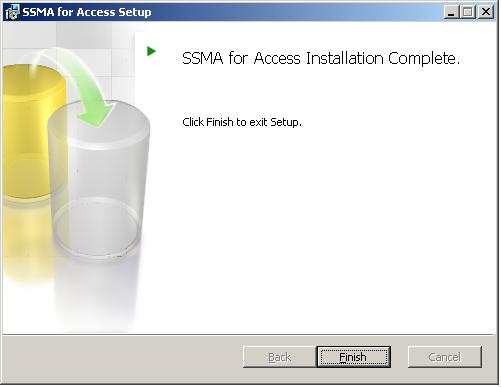
6. Next, the installation status will be displayed; and successful, the Installation Complete window will also be displayed:
Running the SSMA Application
After installing and running the wizard, you will be asked to register (for free) on the Microsoft website.
NOTE: This registration is mandatory, because this is how you will receive the file with the license to use it. This file will be sent by Microsoft to the registered e-mail, named Access-ssma.license, and it will be required the first time you run the application.
1. After registering and getting the license, run the wizard again and the next window will be displayed:
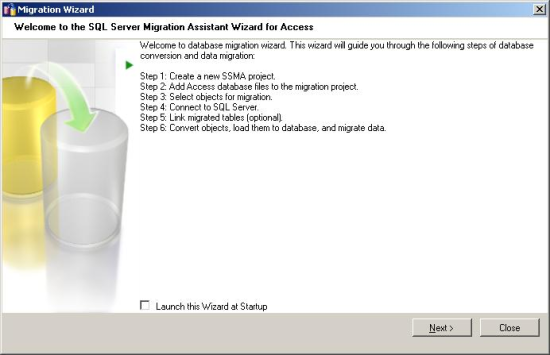
On this window, you will see the steps for migrating from the Access database to the SQL Server.
NOTE: This window may also be opened when running the wizard by clicking on Migration Wizard on the toolbar.
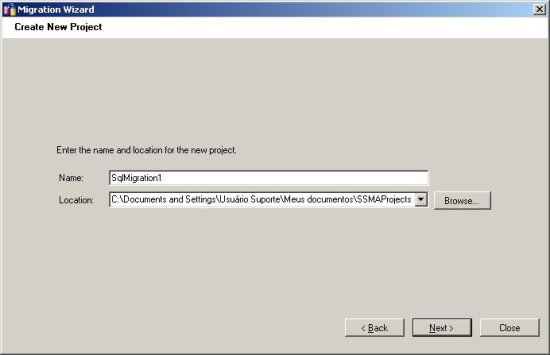
2. Click Next; a window will be displayed for typing the project’s name and location:
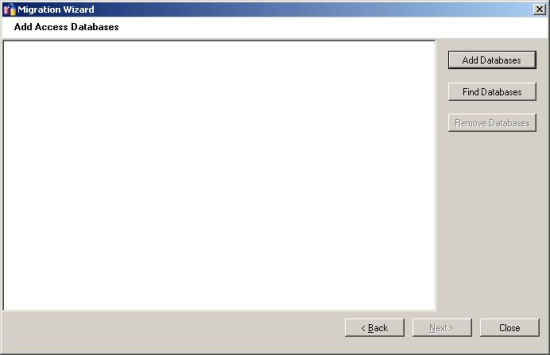
3. On this window, select the Access database that will migrate to SQL Server.
4. After selecting the Access database (file with an .MDB extension), click Next to access the following screen, where you will see all the selected database objects, like tables, primary keys, etc.:

5. On the next window, the SQL Server server’s name, user, and password will be prompted to connect the wizard to the SQL Server and then to select the destination database (created on the beginning of this article) in the Database item.
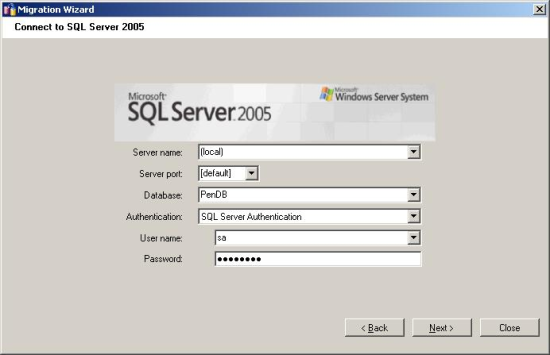
6. Click Next to start the migration process. You can follow the operation progress on wizard’s lower panel:

7. When the migration process finishes, the following window will be displayed:
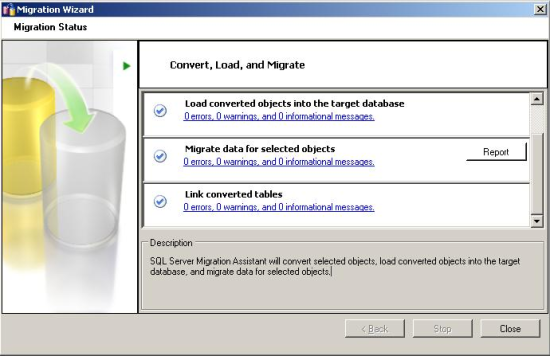
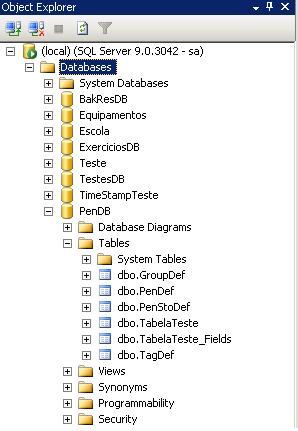
8. To check the items, open the SQL Server Management Studio:
