This article shows the procedures for installing and setting up Microsoft SQL Server 2008 R2 Express, the free version of Microsoft’s database, thus making it possible to use it as E3’s database.
The installer’s download is available at Microsoft’s website, for 32- and 64-bit versions. This article shows you how to install the SQL Express, plus the 64-bit Windows tools, at Microsoft SQL Server 2008 Express with Tools (SQLEXPRWT_x64_ENU.exe) option.
When executing the installer, the window for SQL Server Installation Center is displayed. The first step is to check if the computer has all the components needed for the installation. To do so, choose System Configuration Checker option on Planning tab (fig. 1); if there are no errors, click OK and start the installation process.

Figure 1
On Installation tab, select New SQL Server stand-alone installation or add features to an existing installation option. On Product Key screen (fig. 2), check I accept the license terms option, and then click Next, because the Express version does not need any licenses.

Figure 2
By the end of this stage, you will be able to choose what will be installed. Check only Database Engine Services option (fig. 3). This option will install the SQL Server Express’s engine. If you also want to install its tools, check Management Tools – Basic option.
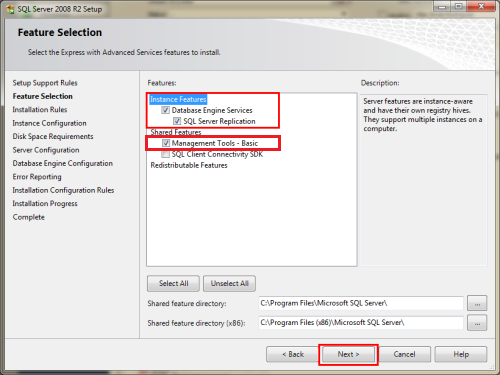
Figure 3
The next screen defines the name by which the SQL server will answer to (fig. 4). If you choose the default instance, the SQL’s name will be the same as the server’s; if you choose a denominated instance, the SQL will answer by that name. Example: SERVER\SQLEXPRESS. Click Next.
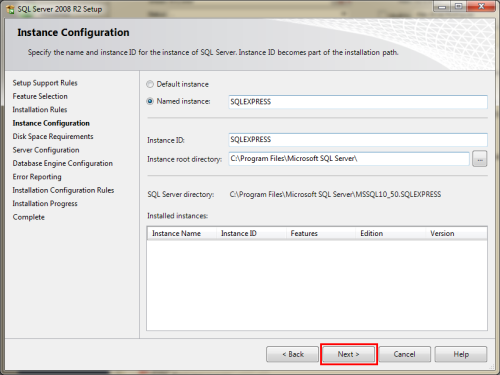
Figure 4
The next screen shows the Server’s settings (fig. 5). Click Next.
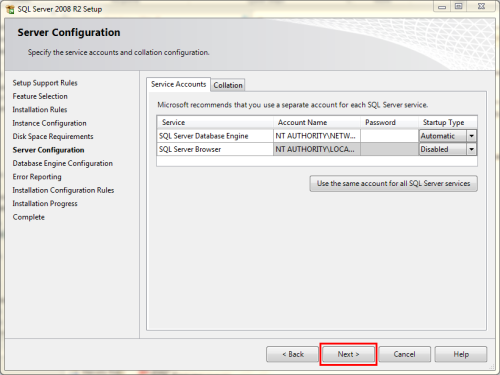
Figure 5
Next, you must inform in which Windows account the SQL Server’s services will run. Select Mixed Mode option, which allows authenticating both Windows accounts and the accounts created later inside SQL (fig. 6). Type and confirm the password that will be used by System admin user, and then click Next.
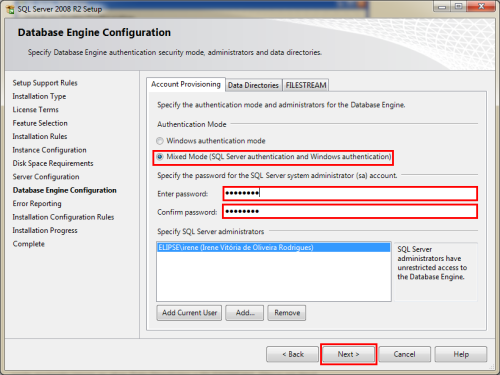
Figure 6
The next screen allows you to opt for sending possible error reports automatically to Microsoft (fig. 7). Soon after that, click Next.
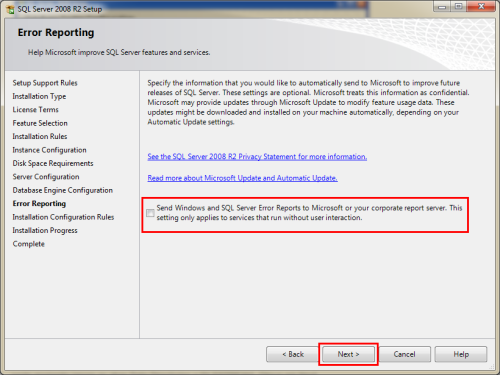
Figure 7
The installer then rechecks for the validation of the parameters informed so far. Then, the installation can begin (fig. 8).
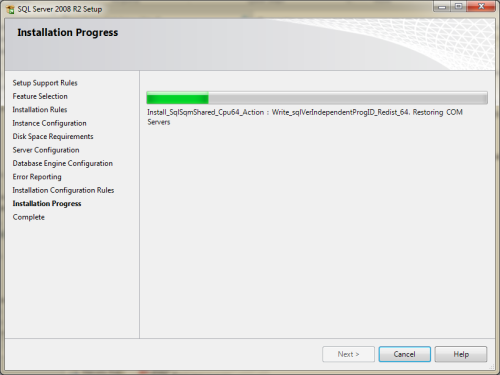
Figure 8
Check the procedure’s summary and then click Close to close the installation screen (fig. 9).
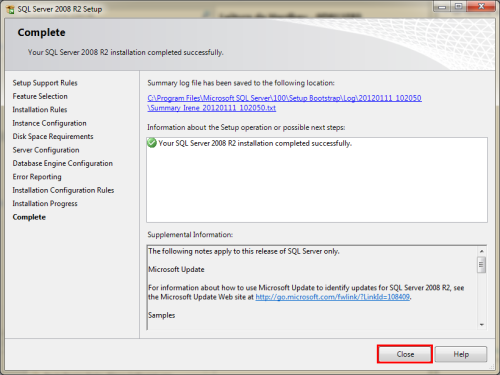
Figure 9
To connect with E3, check the related article.
